The Steam Overlay feature allows you to chat with friends, surf the web, take screenshots, and do much more while playing your favorite games. Although accessing the Steam overlay is as simple as pressing the default keyboard shortcut Shift + Tab, there are times when it does not open or work correctly on your Windows 10 or 11 computer.
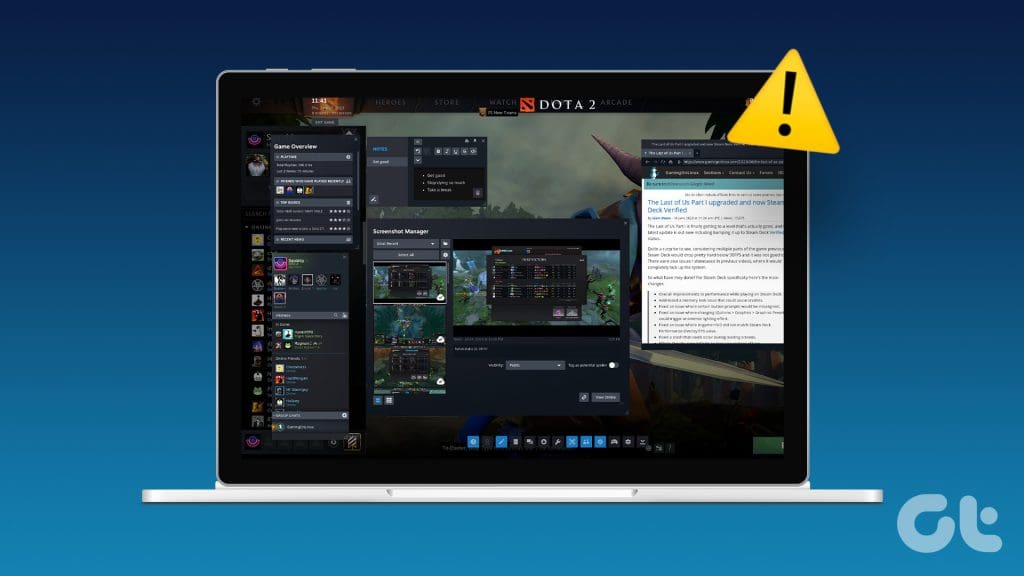
Issues like this can make it difficult to use Steam’s community features while playing games. If you cannot enable the Steam overlay because it is grayed out or you have issues using it even after enabling it, the following solutions will help. So, let’s take a look.
1. Run Steam as an Administrator
A lack of relevant permissions can prevent Steam from displaying content over games and cause problems with the overlay feature. Hence, the first thing you should do is close the Steam client and reopen it as an administrator.
Click the ‘show hidden icons’ arrow on the taskbar, right-click on the Steam logo, and select Exit Steam.

Right-click on the Steam app shortcut and select Run as administrator from the context menu.

If this solves your problem, you can configure Windows to always run Steam with administrative privileges.
2. Make Sure Steam Overlay Is Enabled
Next, you need to ensure that you have not accidentally disabled Steam’s overlay feature on your Windows computer. Here’s how to check.
Step 1: Open the Steam client on your PC. Click the Steam menu in the top left corner and select Settings.

Step 2: Switch to the In Game tab and turn on the toggle next to ‘Enable the Steam Overlay while in-game.’

Step 3: Close Steam Settings and click the Library tab. Right-click on your game where the overlay is not working and select Properties.

Step 4: In the General tab, turn on the ‘Enable the Steam Overlay while in-game’ option.

Try using the Steam overlay after this, and check if the issue remains.
3. End the Gameoverlayui.exe Process
Temporary issues with Steam’s gameoverlayui.exe process can also cause the overlay feature to malfunction. Several users on a Steam Community post reported fixing the issue by restarting the process on their computers. You can also try this.
Press the Ctrl + Shift + Esc keyboard shortcut to open the Task Manager. In the Processes tab, right-click on the gameoverlayui.exe entry and select the End task option.

Restart your game after this and try accessing the Steam overlay again.
4. Clear In-Game Overlay Data
Steam stores overlay preferences for each of your games separately. If this data has become inaccessible for a specific game, the Steam overlay may not function. To fix this, you can clear the overlay data for the game that is causing problems.
Step 1: Open the Steam client on your PC.
Step 2: Click the Library tab. Right-click on your game and select Properties.
Step 3: In the General tab, click the Delete button next to ‘In-Game Overlay Data.’

Open your game through Steam and check if the issue persists.
5. Close Other Overlay Programs
Sometimes, the overlay features of Nvidia Geforce Experience, Discord, and other similar apps on your Windows PC can prevent the Steam overlay from working correctly. To avoid any conflicts, it is best to close apps and programs that you are not using.
After that, press the Shift + Tab keyboard shortcut in your game and check if the overlay works.
6. Verify the Integrity of Game Files
Corrupted or missing game files can also give rise to such problems. Thankfully, Steam has a handy feature that allows you to verify the integrity of game files easily. Here’s how to use it.
Step 1: Open the Steam client on your PC. Click the Library tab, right-click on your game, and select Properties.
Step 2: Select the Installed Files tab and click the ‘Verify integrity of game files’ button.

7. Leave Steam Beta
While participating in Steam’s beta program gives you early access to new and upcoming features, it can sometimes cause problems with features like overlay. So, if all else fails, you can leave Steam’s beta program and switch to a stable app version.
Step 1: Open the Steam app on your PC. Click the Steam menu in the top-left corner and select Settings.
Step 2: In the Interface tab, click the drop-down menu next to Client Beta Participation and select No beta chosen.

Step 3: Click the Restart Now button to confirm.

Wait for Steam to restart and download the necessary files. Once Steam switches to its stable version, you can use the overlay feature.
Level Up With Steam Overlay
The Steam Overlay is a hub for connecting with friends, accessing guides, and managing in-game activities. Following the above tips has helped you fix problems with the overlay feature in Steam on your Windows computer, and it is working as expected.
Last updated on 31 October, 2023
The above article may contain affiliate links which help support Guiding Tech. However, it does not affect our editorial integrity. The content remains unbiased and authentic.
Read Next
 Top 9 Ways to Fix NVIDIA GeForce Overlay Not Working on Windows
NVIDIA GeForce Experience is a utility that helps you keep the GPU drivers up to date.
Top 9 Ways to Fix NVIDIA GeForce Overlay Not Working on Windows
NVIDIA GeForce Experience is a utility that helps you keep the GPU drivers up to date.
 Android: Apply Amazing Overlay Effects, Quick Fixes to Photos
Have a look at these photos…Would you believe me when I say that all the editing and effects related job on the above photos was done on a 4” Android
Android: Apply Amazing Overlay Effects, Quick Fixes to Photos
Have a look at these photos…Would you believe me when I say that all the editing and effects related job on the above photos was done on a 4” Android
 How to Fix Screen Overlay Detected Error on any Android Device
Since Android Marshmallow, a strange error has been doing the rounds.
How to Fix Screen Overlay Detected Error on any Android Device
Since Android Marshmallow, a strange error has been doing the rounds.
 Top 7 Ways to Fix Voice Chat Not Working in Steam for Windows
Although Steam is primarily known as a marketplace for purchasing video games, it also offers a means to connect with fellow gamers through Steam Chat.
Top 7 Ways to Fix Voice Chat Not Working in Steam for Windows
Although Steam is primarily known as a marketplace for purchasing video games, it also offers a means to connect with fellow gamers through Steam Chat.
 6 Best Steam Cleaners and Steam Mops in 2023
Cleaning your house is no mean feat.
6 Best Steam Cleaners and Steam Mops in 2023
Cleaning your house is no mean feat.
 How to Add or Remove Non-Steam Games From Your Steam Library
Although Steam is a popular source for downloading PC games, it’s not the only option.
How to Add or Remove Non-Steam Games From Your Steam Library
Although Steam is a popular source for downloading PC games, it’s not the only option.
 Steam Deck Remote Play: Stream PC or PS5 to Steam Deck
As good as the Steam Deck is, its power is limiting.
Steam Deck Remote Play: Stream PC or PS5 to Steam Deck
As good as the Steam Deck is, its power is limiting.