Apart from being the default browser on Windows PCs, Microsoft Edge is also preferred by a lot of Mac users instead of Safari. And to keep up with its competitors, Microsoft keeps introducing new features for desktop users. The newest addition is Edge Workspaces, which is inspired by screen sharing but in a more secure way.
This feature enables a collaborative browsing experience for Microsoft Edge users by syncing all the tabs opened by different users. You can keep a tab on all the tabs being used by different users at the same time in Edge. We’ll show how to use Microsoft Edge Workspaces to make the best of it on your Mac and Windows 11 PC.
How to Enable Microsoft Edge Workspaces
This feature was previously accessible only to Enterprise users and is being tested as preview to select interested users. As of writing this post, anyone can sign up for the Public Preview to start using it. Of course, it’ll be available for everyone later. Also, you would require to be using Microsoft Edge v111.0.1661.51 and above to use this feature. Here’s how to check for an update on your Mac or Windows PC.
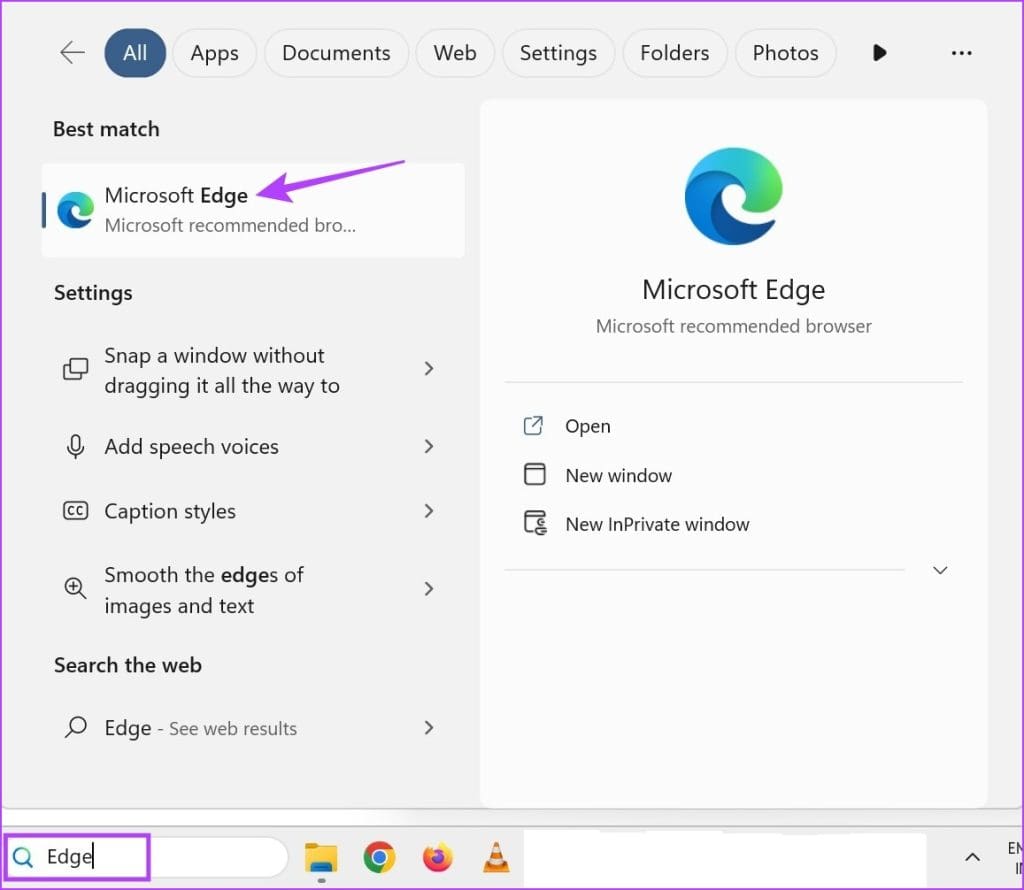
Step 1: Open Microsoft Edge browser on your Mac or Windows PC.

Step 2: Click the three horizontal dots at the top-right corner and select Settings from the context menu.

Step 3: Click About Microsoft Edge at the bottom-left corner.
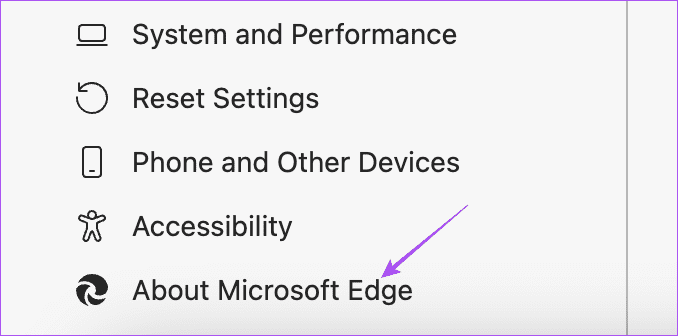
Step 4: Install an update if one is available.
After you install the update, here’s how you can sign up for the Public Preview to enable Microsoft Edge Workspaces.
Step 1: Open Microsoft Edge on your Mac or Windows PC.
Step 2: Click the Workspaces icon at the top-left corner.
Step 3: Click on Join Preview.

Step 4: Wait for some time and click on Get Started in the new tab.

How to Create a Workspace in Microsoft Edge
Here’s how you can create a Workspace to browse the internet with other users. What’s good is that only your current browsing session will get shared with other users. None of your personal information and settings will be shared.
If you are an Enterprise user, ensure you have signed in to Microsoft Edge using your Microsoft Azure Active Directory account. For Public Preview, all users need to be signed in to their Microsoft accounts on the browser.
Step 1: Open Microsoft Edge on your Mac or Windows PC.

Step 2: Click the Workspaces icon at the top-left corner.
Step 3: Click on Create New.

Step 4: Give a name to your Workspace, choose a tab color, and click on Done.

You will see the name of your Workspace appear at the top left side next to the Workspace icon.
Step 5: To invite users, click the Workspace name at the top left side and select Invite to Workspace.

Step 6: Enter the participant’s email address and click on Send Invite Email.

You can also copy the invite link and share it with your contacts. Note that you can only add 5 Workspaces while using the Public Preview.

If you have received a Workspace invite, open your email and click on Join Workspace. Remember that you can join a Workspace only with Microsoft Edge browser.

After the user joins the Workspace, the user profile icon and tab will appear in Edge.

Edit or Remove Workspace in Microsoft Edge
After you have create a Workspace, you can keep adding more users or delete one altogether. Here’s how:
Step 1: In Microsoft Edge, click on your Workspace name at the top-left side.
Step 2: Click on Edit Workspace.

You can change the color and name of your Workspace. To delete your Workspace, click on its name and select Delete Workspace.

If you are working with multiple Workspaces, click the three dots next to the specific Workspace name and select Delete Workspace.

Shared Browsing Experience
By using Microsoft Edge Workspaces, you can enjoy a shared browsing experience and collaborate with your peers in real-time. Since this feature is available as a Public Preview, you might experience hiccups while using it. So, we suggest to update the browser regularly since Microsoft Edge updates bring in new features to make you browsing more enjoy able.
For example, you can transfer files between devices using the Edge Drop feature in Microsoft Edge. You don’t have to rely on messaging apps to share links, documents, or media files from your desktop to mobile or vice versa by using this feature.
Last updated on 20 October, 2023
The above article may contain affiliate links which help support Guiding Tech. However, it does not affect our editorial integrity. The content remains unbiased and authentic.
Read Next
 How to Create, Manage Custom Photoshop Workspaces
If you follow the different tutorials on Photoshop that we’ve published so far, you know how powerful and versatile a tool Photoshop can be, allowing you to perform various tasks
How to Create, Manage Custom Photoshop Workspaces
If you follow the different tutorials on Photoshop that we’ve published so far, you know how powerful and versatile a tool Photoshop can be, allowing you to perform various tasks
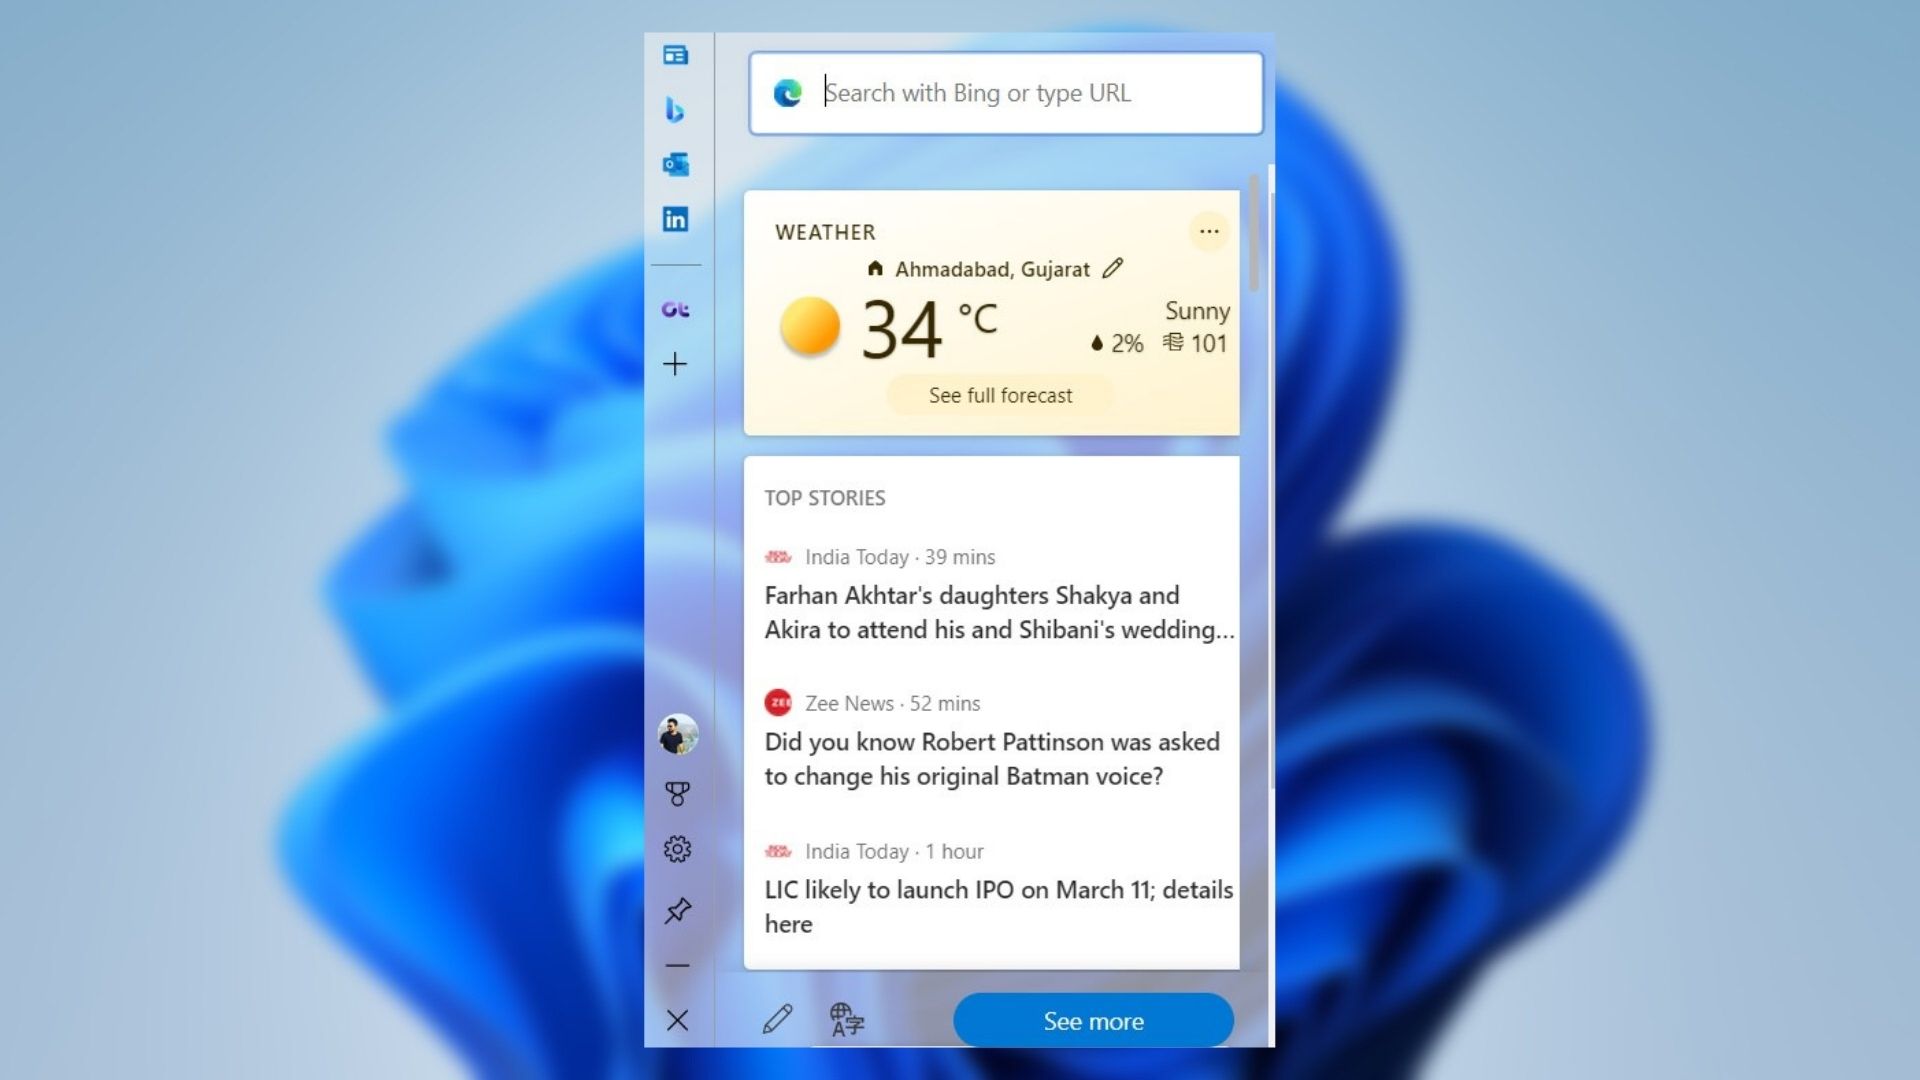 How to Use the Edge Bar in Microsoft Edge on Windows 11
Microsoft Edge pushes new features and improvements with every update for desktop and mobile platforms.
How to Use the Edge Bar in Microsoft Edge on Windows 11
Microsoft Edge pushes new features and improvements with every update for desktop and mobile platforms.
 Top 4 Ways to Fix Microsoft Edge Automatically Opening on Windows and Mac
Whenever you update Windows 10 to the latest version, Microsoft automatically opens the Microsoft Edge browser to display a welcome screen.
Top 4 Ways to Fix Microsoft Edge Automatically Opening on Windows and Mac
Whenever you update Windows 10 to the latest version, Microsoft automatically opens the Microsoft Edge browser to display a welcome screen.
 Top 13 Microsoft Edge Keyboard Shortcuts for Windows and Mac
Microsoft Edge is getting the spotlight in the browser game.
Top 13 Microsoft Edge Keyboard Shortcuts for Windows and Mac
Microsoft Edge is getting the spotlight in the browser game.
 How to Uninstall Microsoft Edge on Windows and Mac
Are you tired of having too many browsers on your device, or are you one of the many users who have recently tried out Microsoft Edge but decided it's not
How to Uninstall Microsoft Edge on Windows and Mac
Are you tired of having too many browsers on your device, or are you one of the many users who have recently tried out Microsoft Edge but decided it's not
 6 Best Ways to Fix No Sound in Microsoft Edge on Mac
Microsoft Edge is a worthy Safari alternative for Mac users.
6 Best Ways to Fix No Sound in Microsoft Edge on Mac
Microsoft Edge is a worthy Safari alternative for Mac users.
 6 Best Fixes for Microsoft Edge Not Working on iPhone, iPad, and Mac
Like Chrome and Firefox, Microsoft Edge is also a good alternative for third-party browsers for Apple devices.
6 Best Fixes for Microsoft Edge Not Working on iPhone, iPad, and Mac
Like Chrome and Firefox, Microsoft Edge is also a good alternative for third-party browsers for Apple devices.
 Top 8 Ways to Fix Microsoft Edge High Memory Usage on Windows 10 and Windows 11
Being a Microsoft product, you’d naturally expect Edge browser to work flawlessly on a Windows computer.
Top 8 Ways to Fix Microsoft Edge High Memory Usage on Windows 10 and Windows 11
Being a Microsoft product, you’d naturally expect Edge browser to work flawlessly on a Windows computer.