Getting a new device is always cause for excitement. And once you use it for a while, you slowly get used to its functions and features. However, certain device manufacturers include some pre-installed apps that might interfere with this experience. But can you delete these pre-installed on your Android device? Let’s find out.
Most pre-installed apps will send you notifications once you start using your device, regardless of whether you’ve previously used the app or not. In most cases, you can’t turn off notifications for these apps. This makes it imperative to know if and how you can uninstall these pre-installed apps on Android. Let’s dive in.
Note: We’re using ASUS and Xiaomi devices for demonstration purposes. The below-mentioned steps might differ based on your device’s OEM.
Can You Delete Apps on Android That Came With Your Phone
No, most pre-installed apps or, as commonly known, bloatware cannot be deleted from your Android device. This is because some apps are either used for specific system functions or installed as a part of your device’s modified OS version. Though they’re far and few, you can delete some of these apps. For others, you can uninstall their updates, delete the app data, or disable them on your device.

Additionally, if you’re an advanced user, you can root your device to uninstall apps on Android that won’t otherwise uninstall. You can also use software like ADB to remove bloatware without rooting.
However, use this with caution as making changes to your device’s software outside of permitted grounds can void the device warranty and, in extreme cases, brick your phone.
How to Delete Pre-installed Android Apps
Certain pre-installed apps that aren’t used by any system function or come as add-ons can be uninstalled. This will allow you to remove bloatware from Android without rooting. Keep reading for a step-by-step process.
Tip: Check our guide to know more about deleting apps on Android.
Step 1: Open the Settings menu on your device.
Step 2: Scroll down and tap on ‘Apps & notifications’.
Step 3: Here, tap on ‘See all apps’ to see all the installed apps on your device.

Step 4: From the list of apps, tap on the relevant app. Then, if available, tap on Uninstall.

Step 5: Tap on OK to confirm.

This will delete the apps on Android that came with your phone. However, since all apps can’t be uninstalled, you can instead disable them. Keep reading to know how.
How to Disable Pre-installed Apps on Android
If you cannot find the option to uninstall the selected app, disabling it is the next best option. This will allow the app to stay dormant until manually enabled. Please note this option might be unavailable for certain system apps. For more details, follow the below steps.
I. Using Settings Menu
Step 1: Open the Settings app on your Android device. Then, tap on ‘Apps & notifications’.
Step 2: Tap on ‘See all apps’ to open all currently installed apps.
Step 3: On this page, tap on the app you wish to disable.

Step 4: Tap on Disable, if available.
Step 5: Then, tap on Disable App to confirm.

This will show the app as disabled on the main apps page. If you wish to enable the app in the future, follow the above steps and tap on Enable on the app settings page to enable it again on your Android device.
II. Using App Drawer or Home Screen
Step 1: On the App Drawer or Home Screen of your device, long-press on the relevant app. Then, tap on the i icon.

Step 2: Once the app settings page opens, tap on Disable.
Step 3: Here, tap on Disable App to confirm.
This will instantly disable the selected app on your Android device.
How to Uninstall Updates for Pre-installed Apps on Android
For certain apps used by system services, the option to disable them might be unavailable. In this case, you can uninstall updates in lieu of deleting these default apps on your Android device. This will not only free up some space but also stop these apps from working for a while. You can re-assign other apps for these services as well if required. Here’s how to do it.
Tip: You can stop automatic app updates on your Android device to ensure these apps don’t get auto-updated later.
I. Using Settings Menu
Step 1: Open the Settings menu on your device. Then, tap on Apps.
Step 2: Here, tap on Manage apps.

Step 3: In the top right corner, tap on the three-dot icon. Tap on ‘Show all apps’ to see all apps.

Step 4: Scroll through the list of visible apps and tap on the relevant one.
Step 5: If available, tap on Uninstall updates.

Step 6: Tap on OK to confirm.

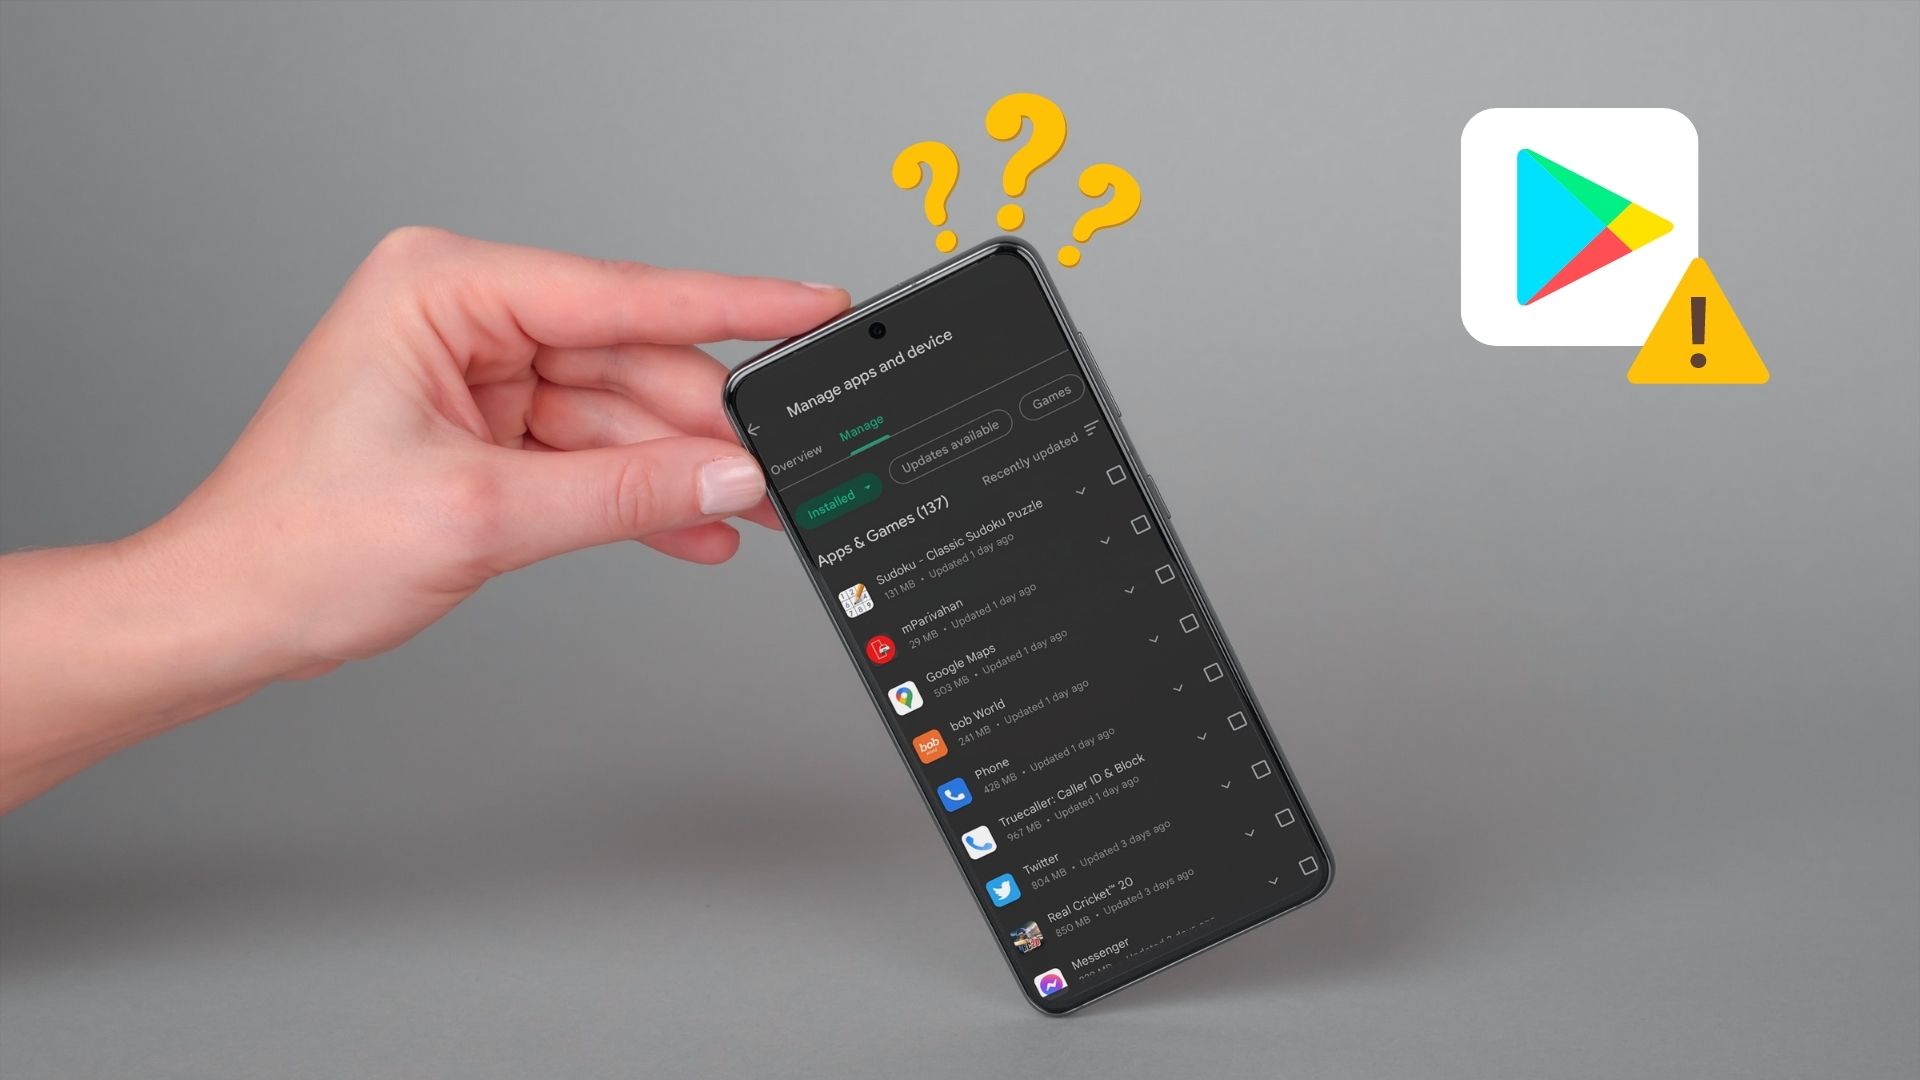
II. Using Google Play Store
Step 1: Open the Google Play Store app on your Android device.
Step 2: In the top-right corner, tap on your profile icon.
Step 3: Here, tap on ‘Manage apps & device’.

Step 4: From the list of apps, tap on the box in front of the apps you wish to uninstall the updates for. Repeat this process for any other relevant apps.
Step 5: From the menu options, tap on the bin icon.
Step 6: Tap on Uninstall.

This will uninstall the updates for the selected app on your Android device.
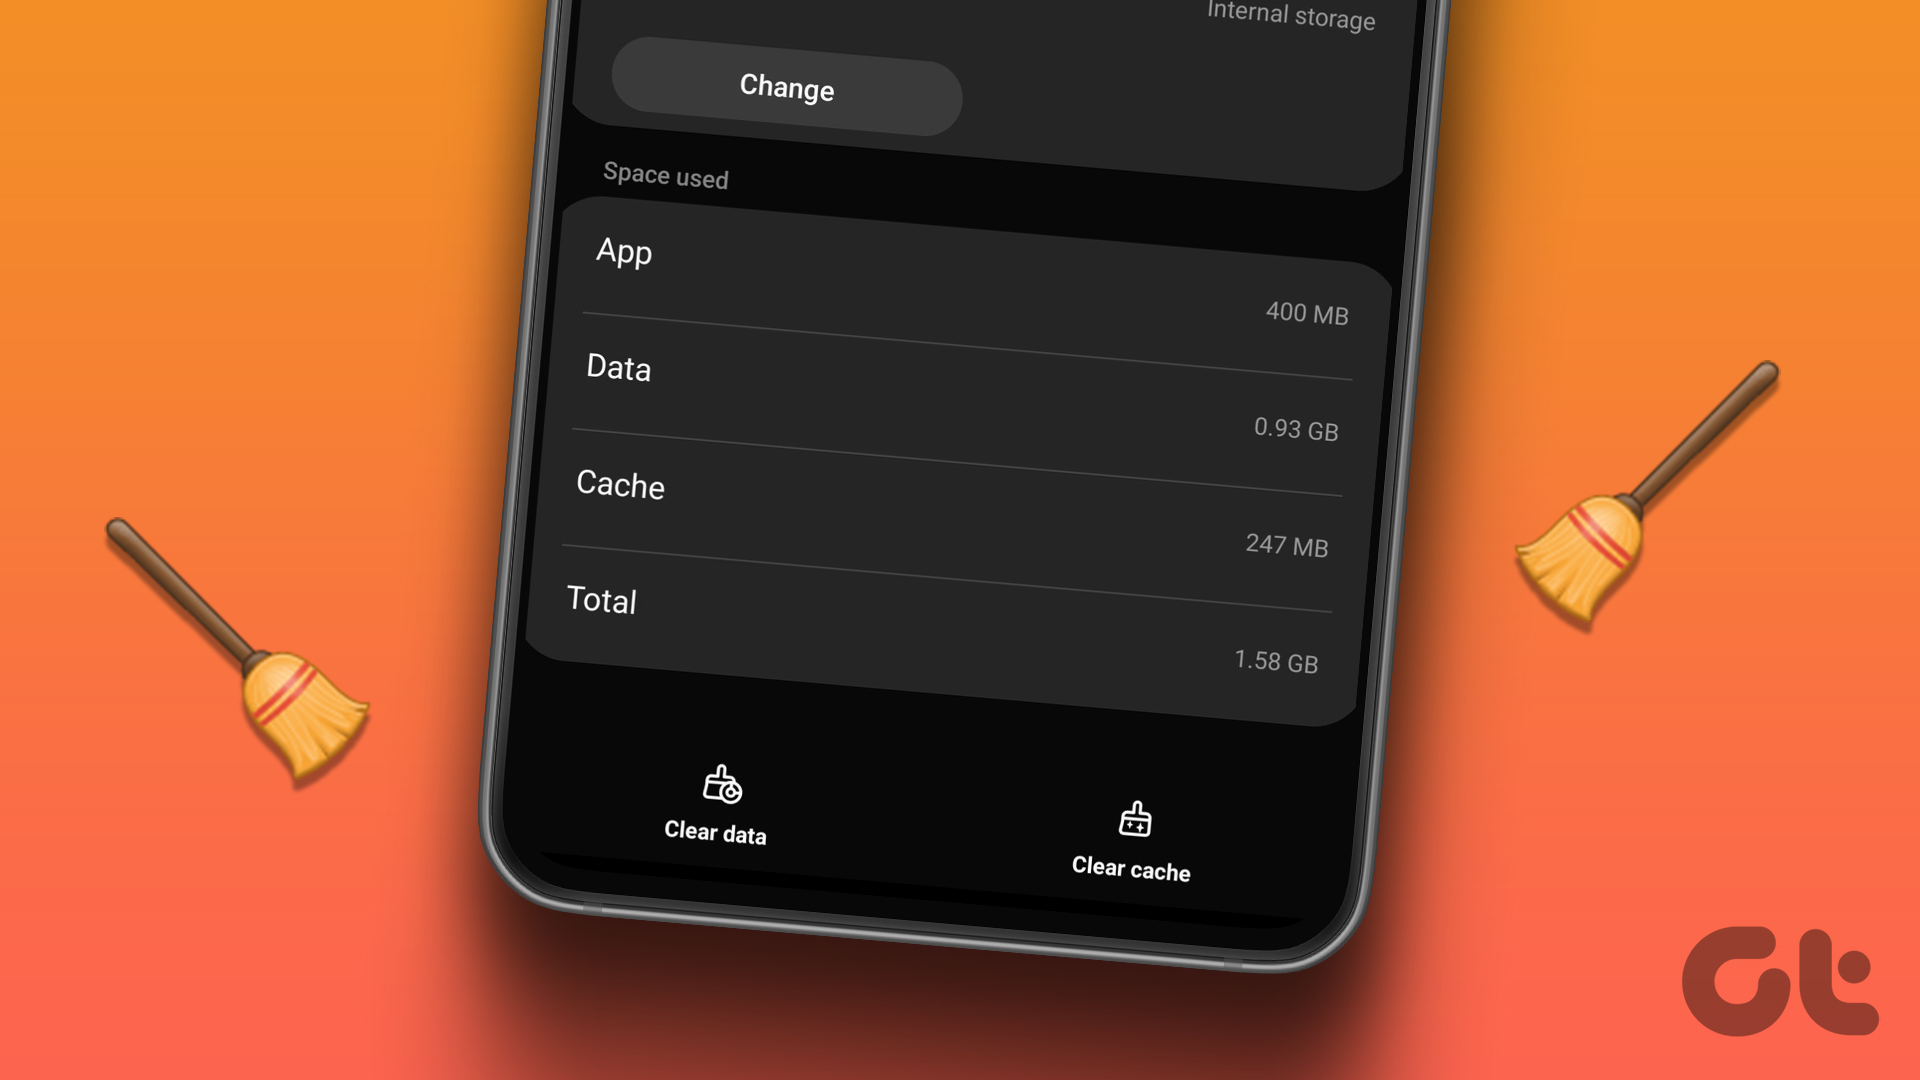
How to Delete App Data for Pre-installed Apps on Android
If you cannot find the option to delete, disable, or uninstall app updates, you can delete or clear the app data instead. This will delete all files, accounts, settings, etc., for the app and, in some cases, might even disable the app for a certain time. Here’s how to do it.
Step 1: Open the Settings menu on your Android device.
Step 2: Here, tap on ‘Apps & notifications’ → ‘See all apps’.
Step 3: Scroll through apps and tap on the relevant one.
Step 4: Then, tap on Storage.

Step 5: Here, tap on Clear Storage.
Step 6: Tap on OK to confirm.

This will delete all the data for the selected app on your Android device.
Get Rid of Bloatware
Certain pre-installed apps, like Gmail, Chrome, Recorder, etc., can be helpful for users. However, for the ones that are not useful or cause higher than normal battery drain, we hope this guide helped you to disable, uninstall updates, or even delete those pre-installed apps from your Android phone.
Last updated on 23 November, 2023
The above article may contain affiliate links which help support Guiding Tech. However, it does not affect our editorial integrity. The content remains unbiased and authentic.
Read Next
 Delete Pre-Installed Bloatware From New Windows 8 Laptop
Bloatware and Windows go hand in hand.
Delete Pre-Installed Bloatware From New Windows 8 Laptop
Bloatware and Windows go hand in hand.
 Share List of All Your Installed Apps on Android With a Friend
Image via Ash Kyd.When a friend gets a new Android phone, the first thing they ask you is what apps you have installed on your phone.
Share List of All Your Installed Apps on Android With a Friend
Image via Ash Kyd.When a friend gets a new Android phone, the first thing they ask you is what apps you have installed on your phone.
 Xiaomi Mi A1 Pre-Booking Start Today: 5 Reasons to Buy It
Xiaomi took the world by surprise when it announced the launch of the Xiaomi Mi A1.
Xiaomi Mi A1 Pre-Booking Start Today: 5 Reasons to Buy It
Xiaomi took the world by surprise when it announced the launch of the Xiaomi Mi A1.
 Top 8 Ways to Fix Google Play Store Not Showing Installed Apps
With Play Store, managing your apps takes minimal effort.
Top 8 Ways to Fix Google Play Store Not Showing Installed Apps
With Play Store, managing your apps takes minimal effort.
 How to Pre-Order and Buy Age of Empires IV: Definitive Edition
Age of Empires IV: Definitive Edition was unveiled on August 21, 2017, at Gamescom.
How to Pre-Order and Buy Age of Empires IV: Definitive Edition
Age of Empires IV: Definitive Edition was unveiled on August 21, 2017, at Gamescom.
 Quickly Create A List Of Installed Programs With CCleaner
Let’s say you’re upgrading your operating system, or you’re buying a new PC.
Quickly Create A List Of Installed Programs With CCleaner
Let’s say you’re upgrading your operating system, or you’re buying a new PC.
 How to Fix Driver Being Installed Is Not Validated for This Computer Error on Windows 10
Driver-related problems are common with the Windows OS.
How to Fix Driver Being Installed Is Not Validated for This Computer Error on Windows 10
Driver-related problems are common with the Windows OS.
 How to Fix the iTunes Windows Store App Driver Not Installed Issue
The release of iTunes as a Windows Store app was a largely welcome move by Apple.
How to Fix the iTunes Windows Store App Driver Not Installed Issue
The release of iTunes as a Windows Store app was a largely welcome move by Apple.