With several audio output options, as users, we’re spoilt for choice. However, it always becomes a task to change from Windows default audio to the device you want. To help, here are 5 easy ways you can use to switch the audio output device in Windows 11.

By switching the audio output device in Windows 11, you can select any of the currently connected audio output devices. This way you can get that superior audio experience while using your Windows device. Let’s begin.
1. Using the Quick Settings Panel
As the name suggests, the Windows 11 Quick Settings panel has a selection of icons that can help you quickly access important system services. This can also be helpful if you’re looking for a way to change the sound output on your Windows device. Follow the below steps to do it.
Step 1: Click on the network, sound, or battery icon at the bottom right of the screen to access the Quick Settings menu.
Step 2: Then, click on the ‘Select a sound output’ icon.

Step 3: Here, click on the relevant sound output device.
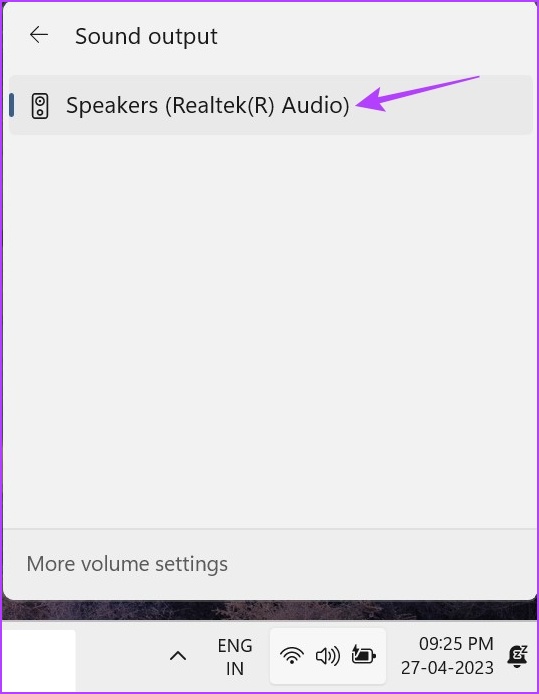
This will change the sound output for your Windows 11 device.
2. Using Volume Mixer
Volume mixer on Windows can also be considered as a shortcut for switching audio output devices. So, it’s only fair to mention it on our list. To know how to access and use the Windows 11 Volume mixer, follow the below steps.
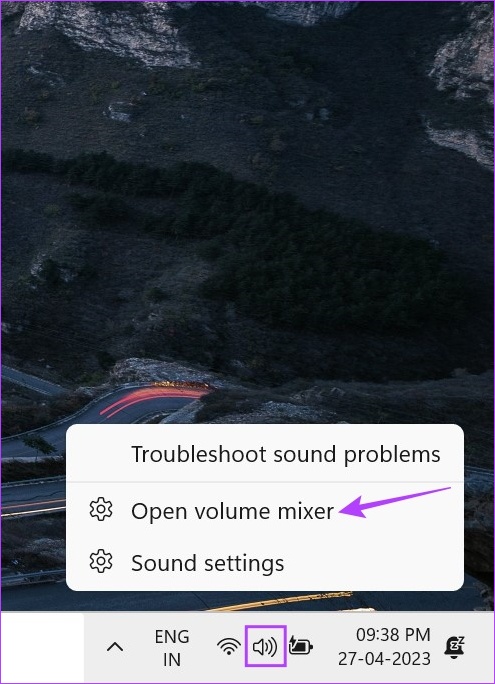
Step 1: In the bottom right corner, right-click on the volume icon.
Step 2: Then, click on ‘Open volume mixer’.
Step 3: Here, click on the Output device drop-down.
Tip: You can also use the Input device drop-down to change the current input device and even use the Volume bar to control the current volume levels for all the relevant multimedia apps.

Step 4: Select the audio output device you want.

This will switch the audio output device in Windows 11. Additionally, if you’re unable to open the Volume mixer from the taskbar, open Settings > System > Sound. Then, scroll down and click on Volume mixer.
3. Using the Xbox Game Bar Shortcut
While the Xbox Game Bar shortcut is mostly known for its gaming capabilities, do you know that it can also be used to change the sound output? Simply open the sound options and select the desired output device. Here’s a step-by-step look at how to do it.
Step 1: Press Windows + G on your keyboard to open Xbox Game Bar.
Step 2: Then, from the menu panel, click on the sound icon.
Step 3: Here, click on the ‘WINDOWS DEFAULT OUTPUT’ dropdown menu.
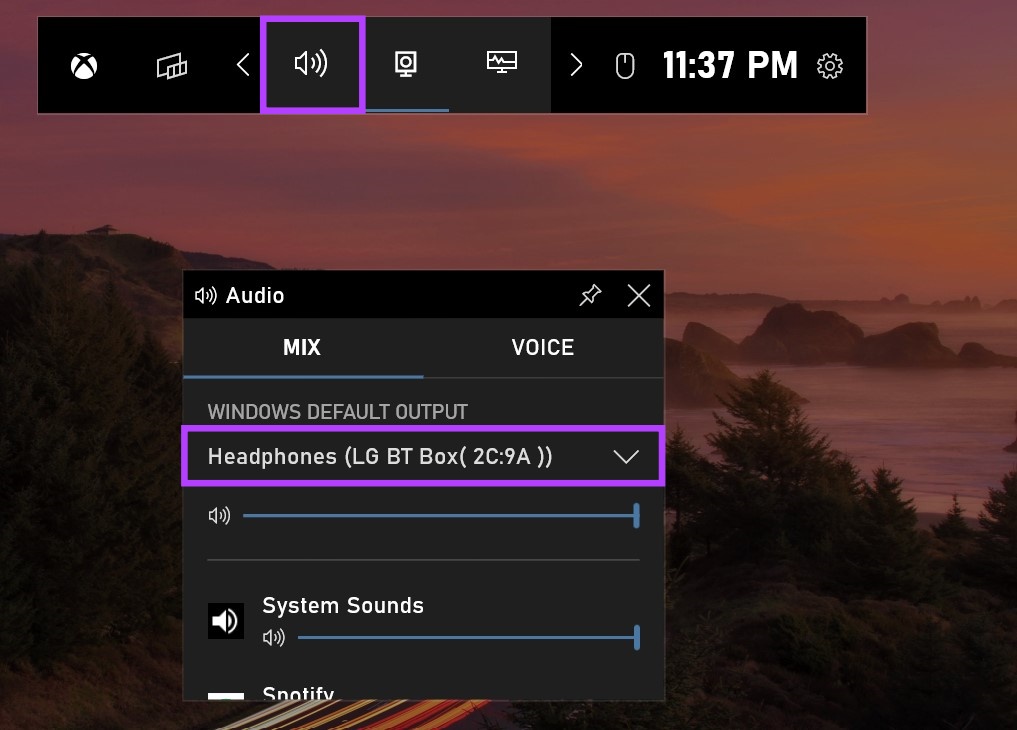
Step 4: Then, click on the audio output device you want.

Once the audio output device has been selected, it will be applied for all multimedia services systemwide. The Xbox Game Bar should also close automatically. If it doesn’t, click anywhere on your desktop or use the Esc key on your keyboard to close the Xbox Game Bar.
4. Using the Settings Panel
The Windows 11 Sound settings menu gives you options to take control of your device’s audio. From switching audio devices to fixing them, all the options are readily available in the settings menu. So, let’s look at how you can select your preferred audio device using the Windows 11 settings menu.
Step 1: Press Windows + I on your keyboard to open Settings.
Step 2: Go to the Systems tab and click on Sound.
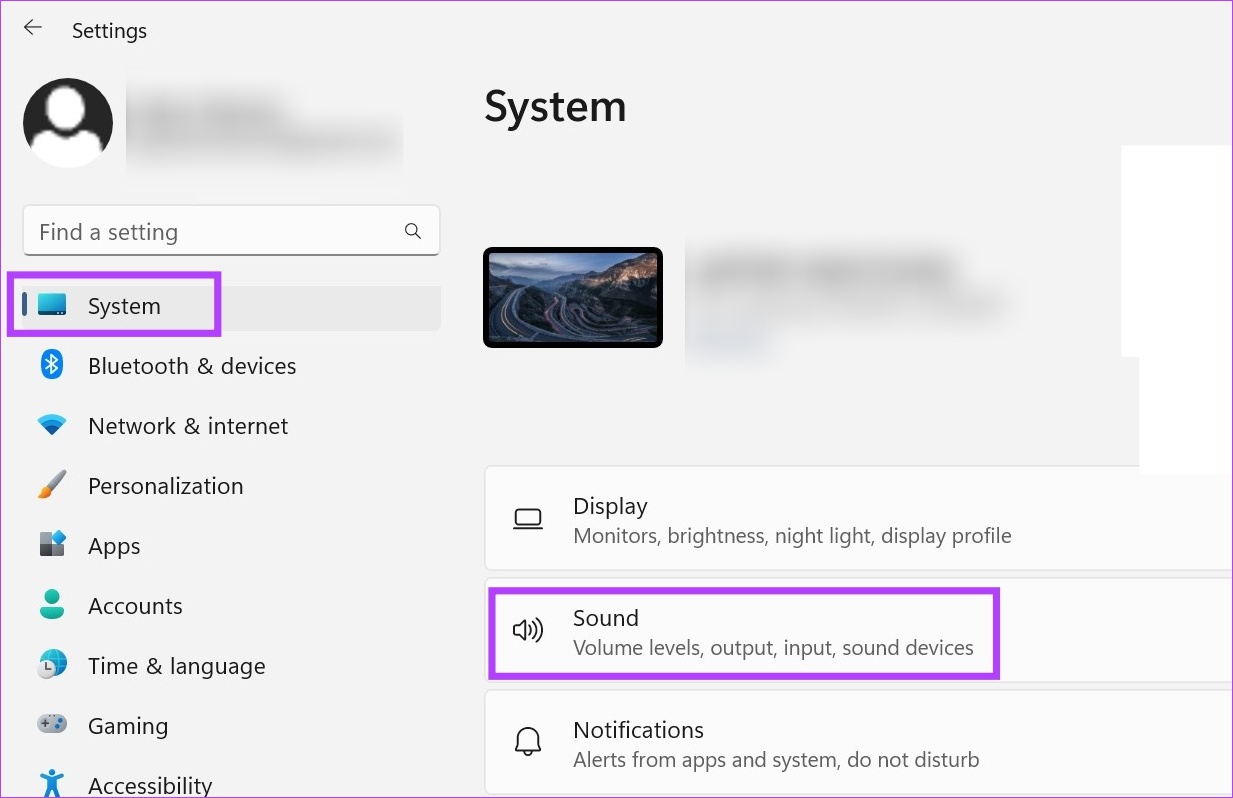
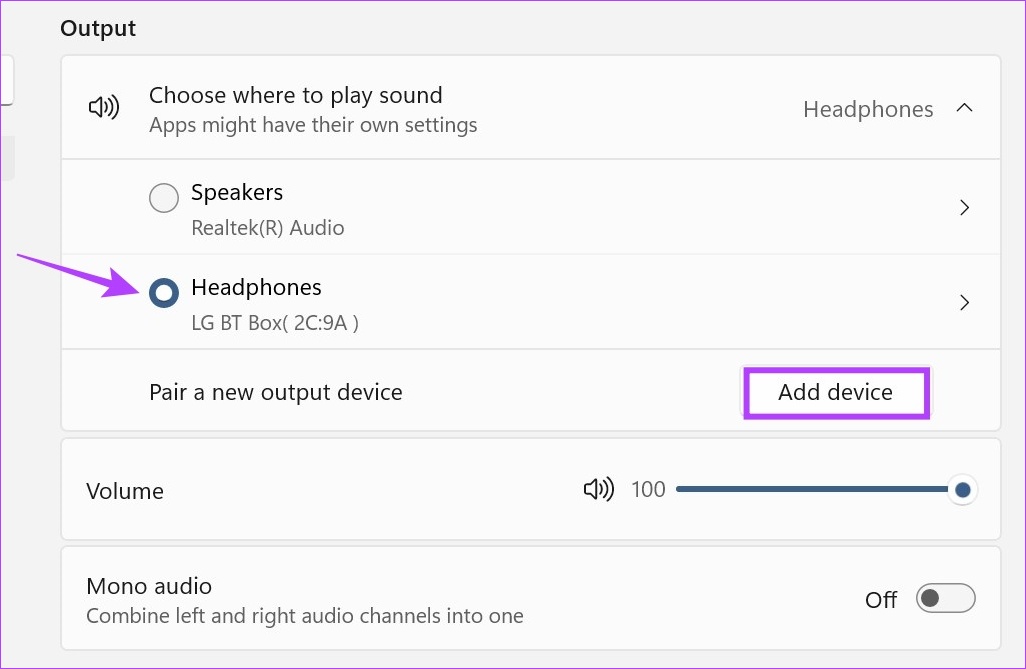
Step 3: Then, select your preferred audio output device.
Tip: If you can’t see your device, click on Add device. Then, connect the audio device from the list.
Step 4: You can also access device properties. Click on the arrow icon in front of the selected audio device.

This will open your selected audio device’s properties.

You can use the device properties to configure the audio and get the best audio output results.
5. Using Control Panel Sound Settings
Just like the Settings menu, you can also use the Control Panel to make changes to important Windows settings. Read on to know how it can be used to switch the audio output device in Windows 11.
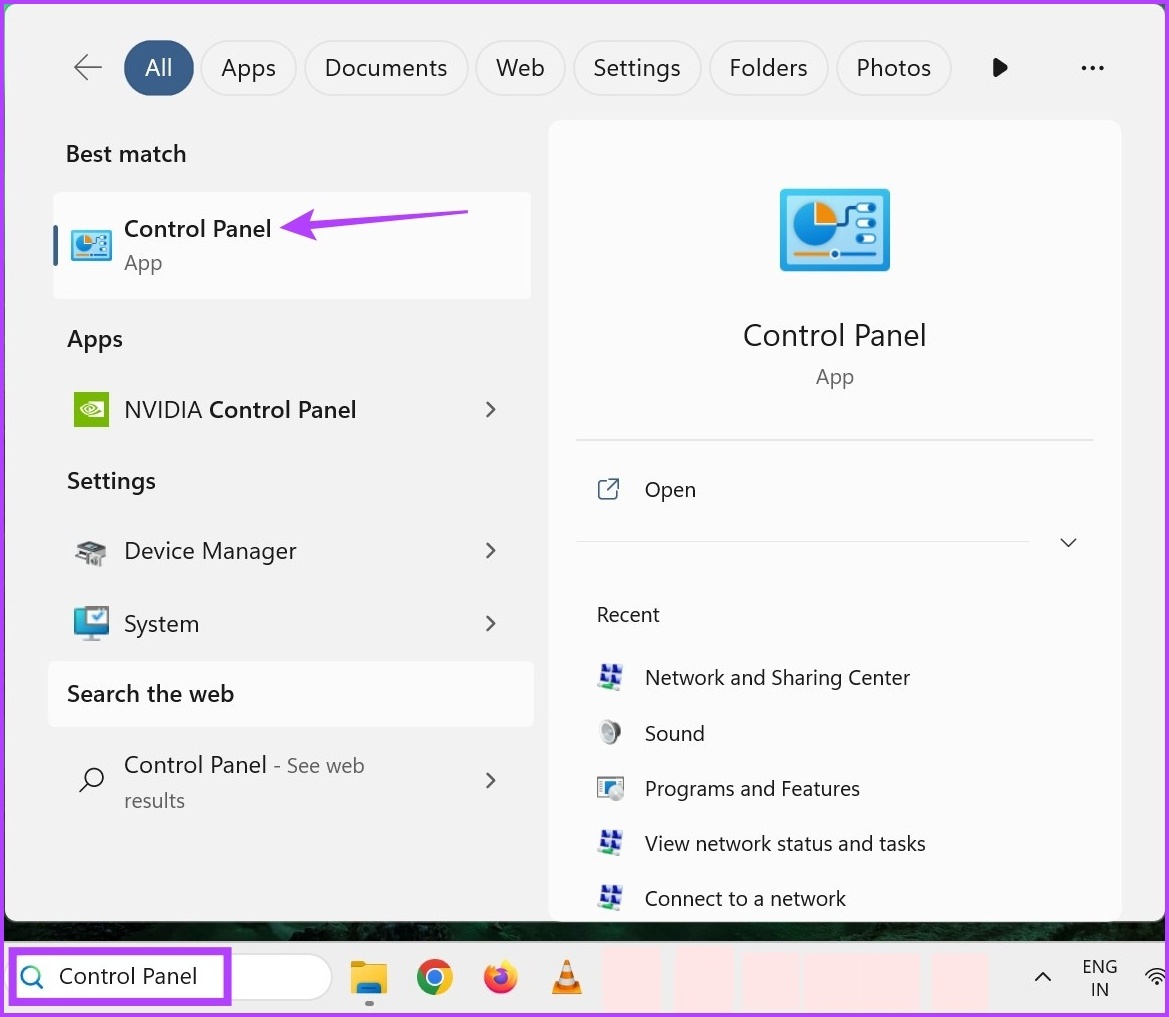
Step 1: Go to Search and type Control Panel. Then, open the Control Panel from the search results.
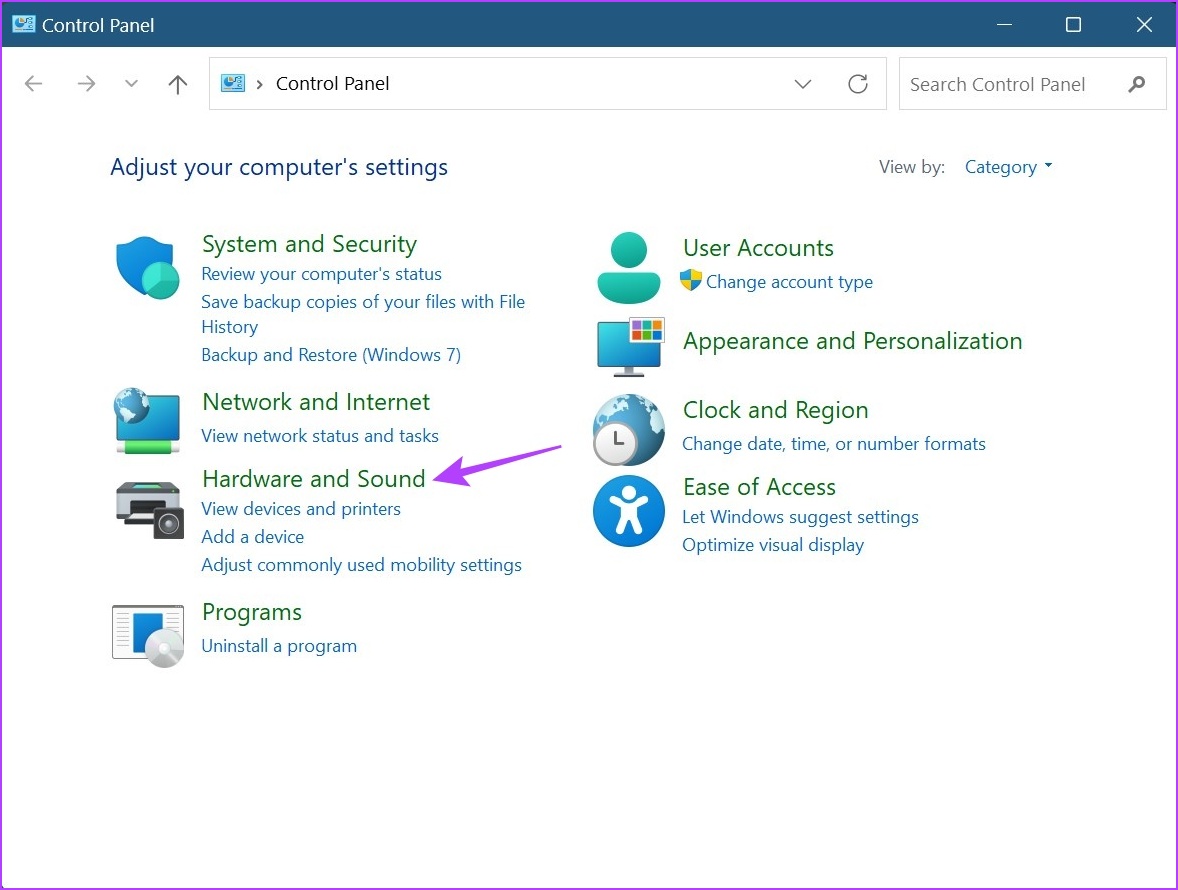
Step 2: Here, click on ‘Hardware and Sound’.
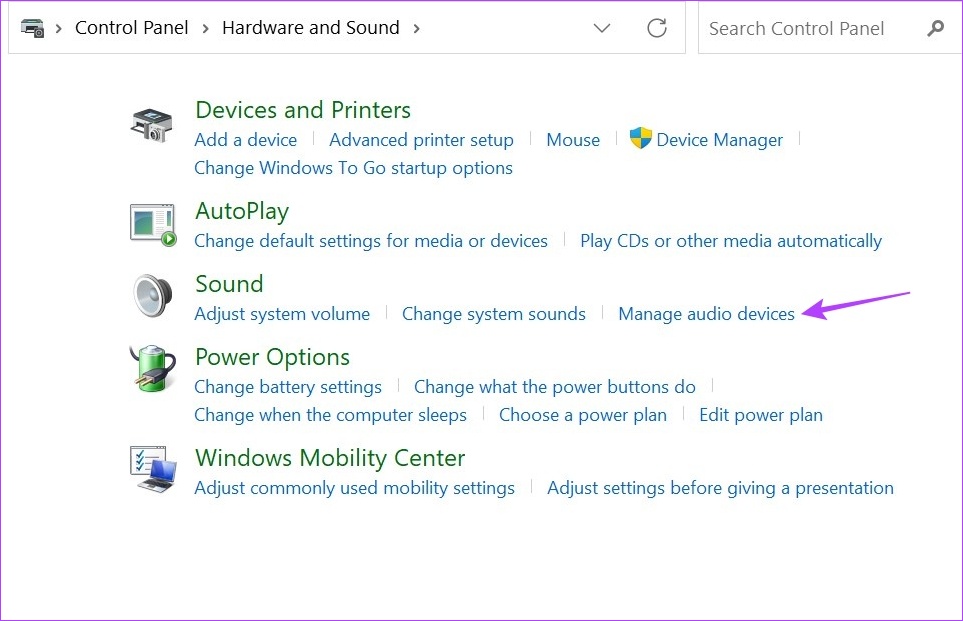
Step 3: Then, go to Sound and click on ‘Manage audio devices’. This will open the Sound window.
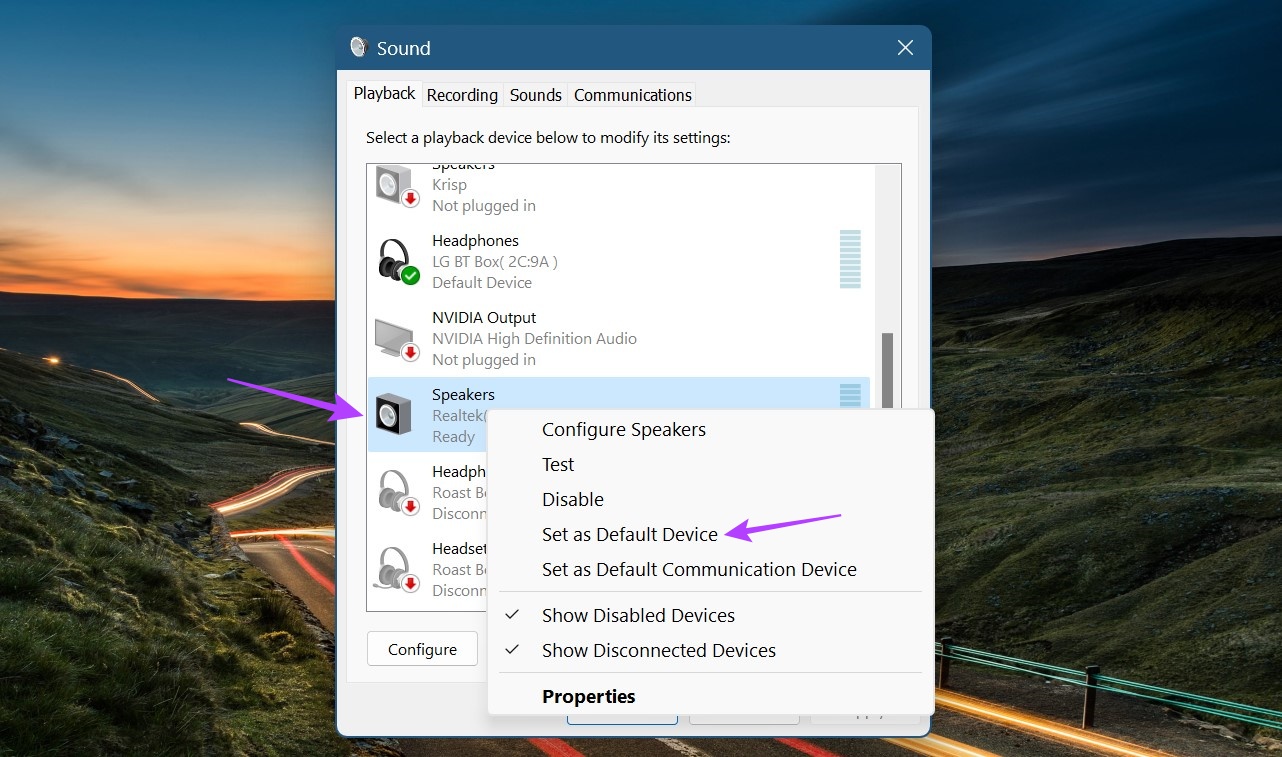
Step 4: Under the Playback tab, scroll through the devices available and find the target output device.
Step 5: Now, right-click on that audio device, and from the menu options, click on ‘Set as Default Device’.
Step 6: Once done, click on OK.
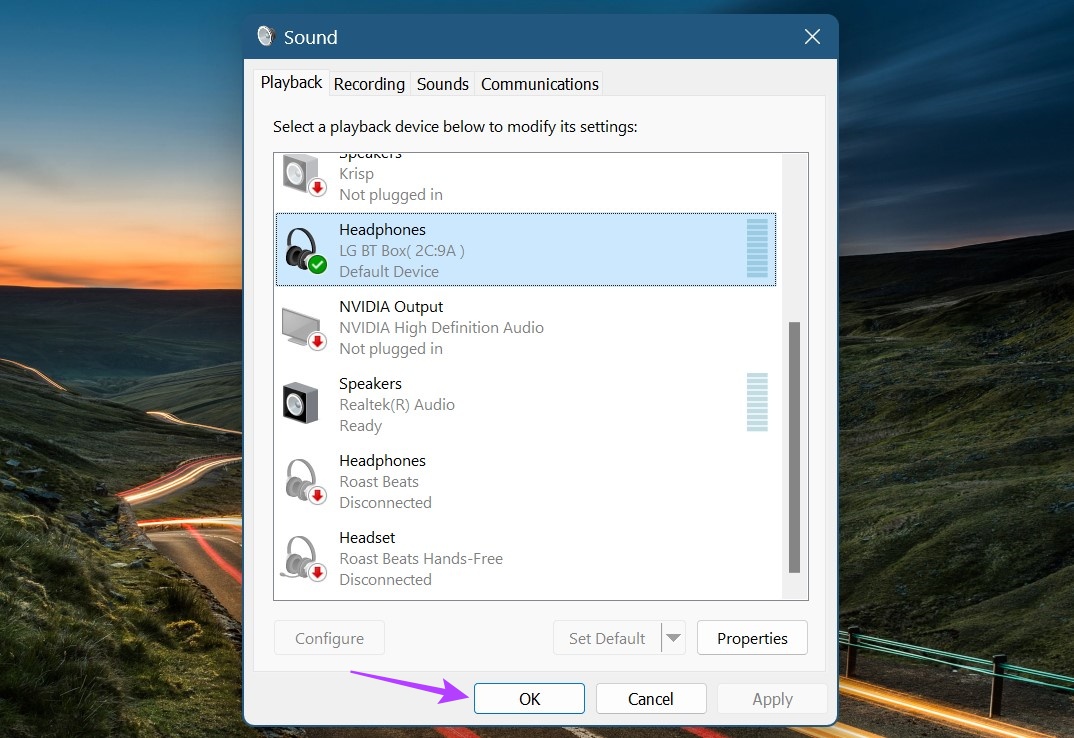
This will make the selected audio device system the preferred one and close the Sound window.
FAQs for Switching Audio Output Devices in Windows 11
Yes, you can also use third-party software like SoundSwitch to switch the sound output device in Windows 11. Install the app to get started.
To reset Windows 11 audio to default settings, open the Settings menu. Under the Systems tab, go to Sound > Volume mixer. Then, scroll down and click on Reset. This should reset volume levels for all Windows apps. Additionally, you can also go through the following article to know more about how to reset all Windows 11 audio services.
Change the Sound Output
So, these were all the ways you can use to switch the audio output device in Windows 11. Additionally, you can also check out our explainer if you’re having trouble connecting your Windows 11 device to your preferred HDMI audio device.
Last updated on 03 May, 2023
The above article may contain affiliate links which help support Guiding Tech. However, it does not affect our editorial integrity. The content remains unbiased and authentic.
Read Next
 Record and Save Your Macs Audio Output with Hijack
Have you ever listened to an audio file or watched a video on the Internet and wanted to be able to save the sound?
Record and Save Your Macs Audio Output with Hijack
Have you ever listened to an audio file or watched a video on the Internet and wanted to be able to save the sound?
 Top 6 Universal Travel Power Adapter with USB Output
When traveling abroad, travel adapters is one of the mandatory things that you must carry along with your passport.
Top 6 Universal Travel Power Adapter with USB Output
When traveling abroad, travel adapters is one of the mandatory things that you must carry along with your passport.
 Top 6 Ways to Fix No Audio Device Is Installed Error on Windows 11
Are you getting the 'No audio device is installed' error when you play music or a video file on your Windows 11 computer?
Top 6 Ways to Fix No Audio Device Is Installed Error on Windows 11
Are you getting the 'No audio device is installed' error when you play music or a video file on your Windows 11 computer?
 Windows Audio Device Graph Isolation: Fix High CPU Usage
The productivity of your work can be easily influenced by how your Windows PC performs.
Windows Audio Device Graph Isolation: Fix High CPU Usage
The productivity of your work can be easily influenced by how your Windows PC performs.
 Convert Any Video Into Audio Using Free Video To Audio Convertor
Sometimes when we watch a song video on the computer or a promotional video of a movie from the internet, we get an instant urge to have it on our
Convert Any Video Into Audio Using Free Video To Audio Convertor
Sometimes when we watch a song video on the computer or a promotional video of a movie from the internet, we get an instant urge to have it on our
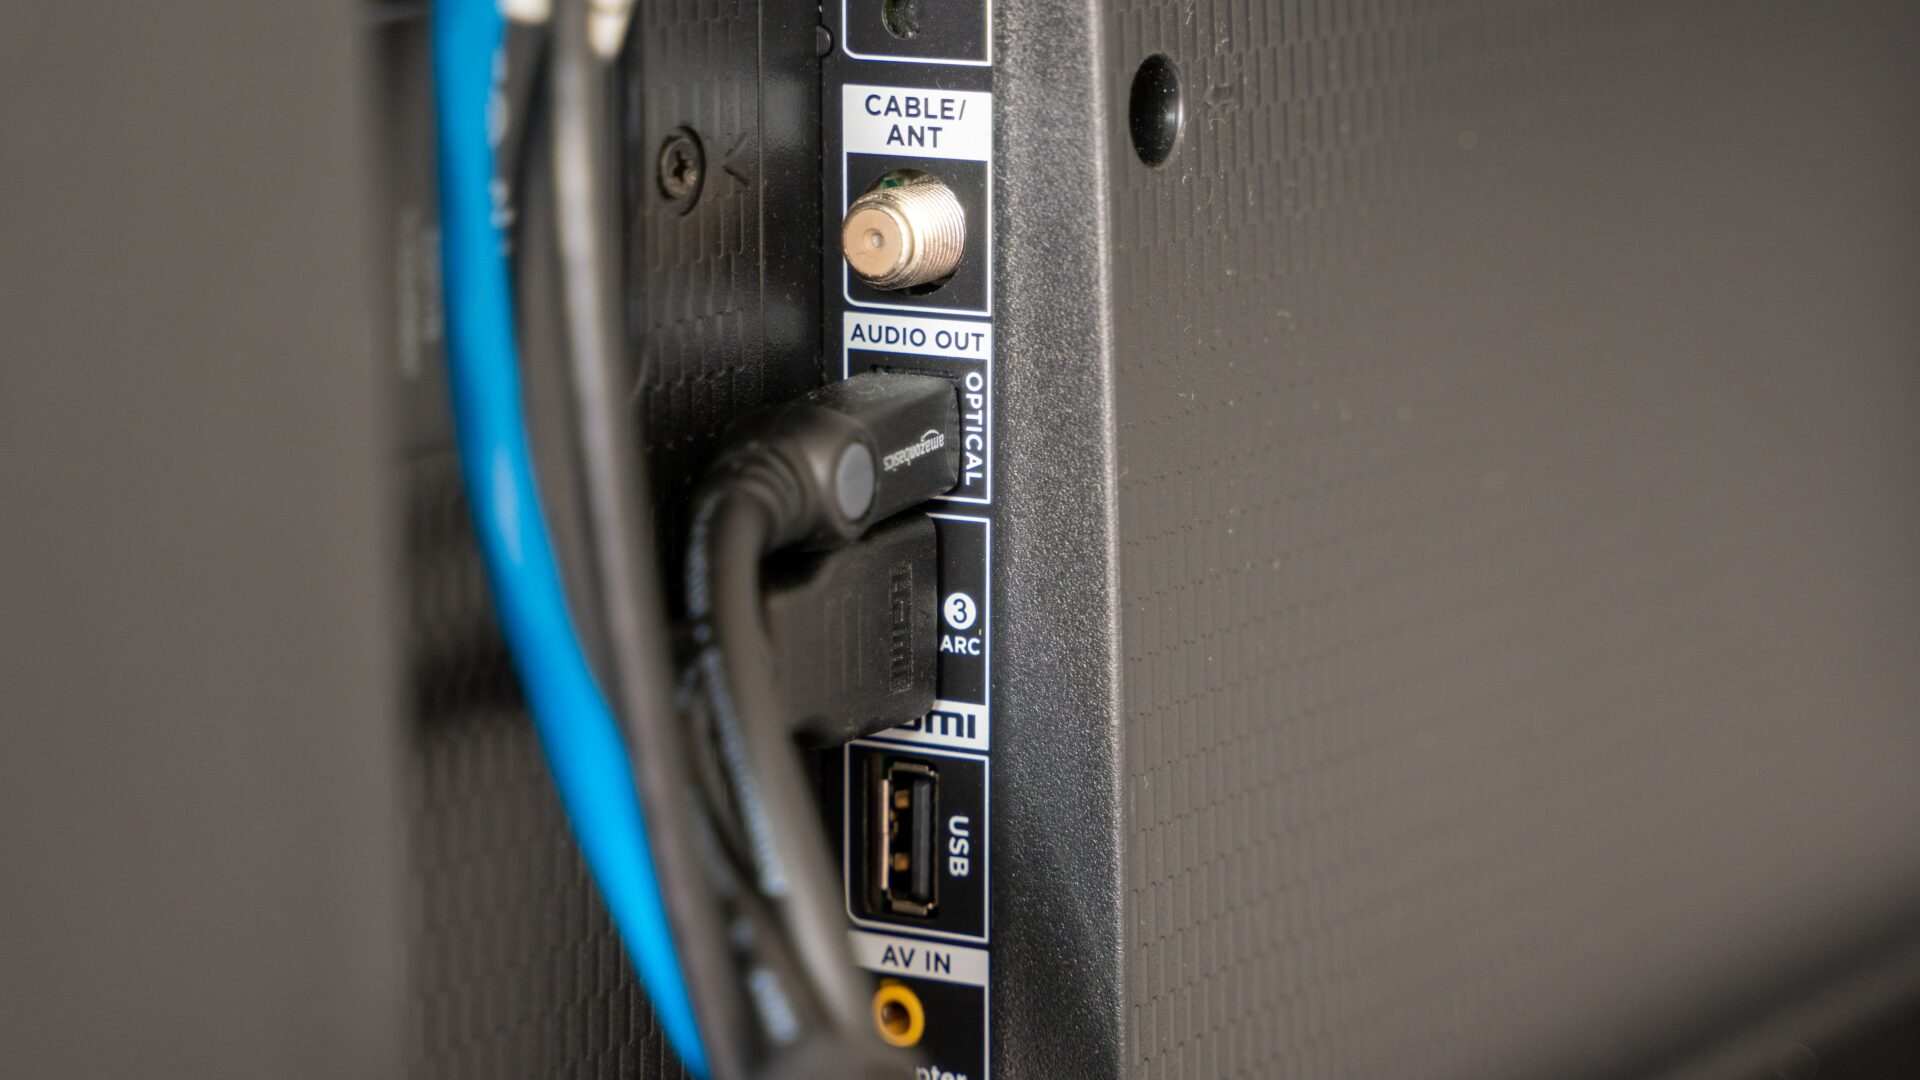 Digital Optical Audio Cable vs HDMI ARC: Which Audio Cable Should You Buy
Digital Optical Audio output (also called TOSLINK) and an HDMI port are present in almost all TVs and soundbars.
Digital Optical Audio Cable vs HDMI ARC: Which Audio Cable Should You Buy
Digital Optical Audio output (also called TOSLINK) and an HDMI port are present in almost all TVs and soundbars.
 How to Switch to the Strongest Wi-Fi Automatically in Windows 10 and Windows 11
If you live or work in a space where multiple wireless connections are available, you may want to connect to the strongest Wi-Fi network all the time.
How to Switch to the Strongest Wi-Fi Automatically in Windows 10 and Windows 11
If you live or work in a space where multiple wireless connections are available, you may want to connect to the strongest Wi-Fi network all the time.
 How to Experience Hi-Fi Audio on Your Mobile Device
Times are changing.
How to Experience Hi-Fi Audio on Your Mobile Device
Times are changing.