When you launch the Microsoft Word app, the page appears in portrait mode by default. Microsoft calls that page orientation. The average word processing tool, including Microsoft Word, typically has two-page orientations – landscape (horizontal) or portrait (vertical).

According to Microsoft, the Word app uses portrait orientation since most documents are text-based, and text works better in the vertical format. However, if you want to create different documents like an event invite, a menu, or a brochure, you can change the Word document’s orientation to a landscape view. Here’s a guide on how to change page orientations in Microsoft Word.
Changing the Default Page Orientation on Microsoft Word to Landscape
In Microsoft Word, you can either change the page orientation of your whole document or a single page. This section will show you how to achieve that by changing the default Word page orientation to landscape.
Step 1: On Windows, click on the Start menu and search for Word.

Step 2: Click on the Word app from the results and select Open from the right-pane.

Step 3: On the Word document, click on the Layout tab above the ribbon.

Step 4: In the Page Setup group, click on Orientation.

Step 5: Select the Landscape option to change the page orientation setting.

Use Portrait and Landscape Orientations in Microsoft Word
As mentioned earlier, Microsoft Word allows you to switch between landscape and portrait page orientations. However, if your document requires using landscape and portrait to represent its contents better, you can still combine both. Here are two ways to do so:
Method 1: Highlighting Specific Text or Object on a Microsoft Word Page
If you would like the text or objects on a particular Word Page to display a different orientation from the rest of the document, here’s what you should do.
Step 1: On a Windows PC, click on the Start menu and search for Word.
Step 2: Click on the Word app from the results and select open from the right pane.
Step 3: Open the Word document you was to work on. Highlight the all the content on the page, including images, text, etc.

Step 4: On the Word document, click on the Layout tab at the top. Ensure the content on the page remains highlighted.
Step 5: Navigate your cursor to the Page Setup group and click on the small icon with a downward-pointing arrow in that group’s corner. The arrow represents a dialog box launcher.

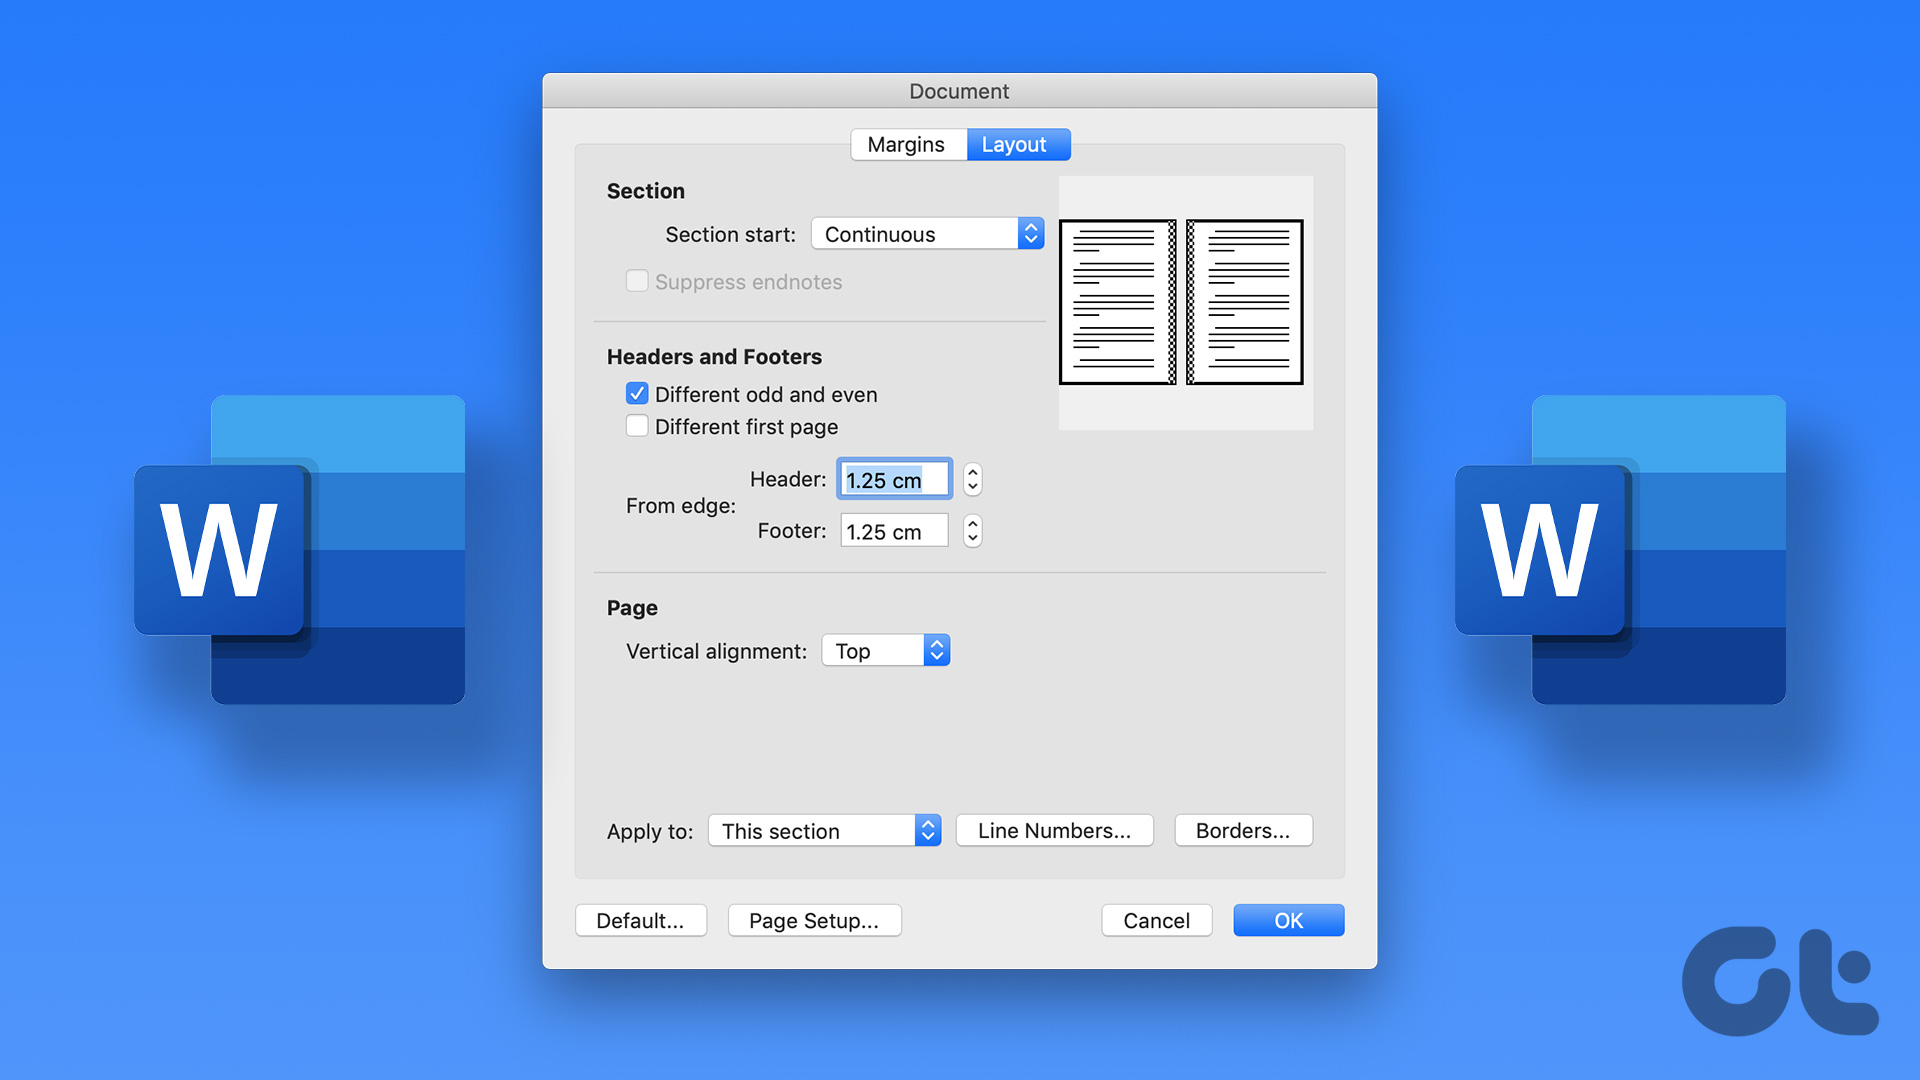
Step 6: On the Page Setup dialog box, click on Margins tab.

Step 7: Go to Orientation. By default, your Word app should be in Portrait mode. If you want to include a Landscape page, click on Landscape under Orientation. However, if your Word app is in Landscape mode and you want to include a Portrait page, click on Portrait under Orientation.

Step 8: Go to Preview and click the drop-down menu beside the Apply to label.

Step 9: Click on Selected text from the drop-down menu.

Step 10: Click on OK, and this should change the orientation for just the page of the text highlighted.

Method 2: Change the Orientation of a Microsoft Word Document With Section Breaks
On Microsoft Word, you can insert section breaks to divide the document into sections. After insertion, you can format each section separately. For example, in this case, format a section as a portrait orientation and then format the next section as landscape. This saves you the trouble of highlighting a text every time you need to switch orientations. Here’s how to do so:
Step 1: On your Windows PC, click on the Start menu and search for Word.
Step 2: Click on the Word app from the results and Open from the right pane.
Step 3: On the Word document, click on the Layout tab.
Step 4: Navigate your cursor to the Page Setup group and click on Breaks.

Step 5: From the drop-down, click on Next Page under the Section Breaks section.

Step 6: Repeat steps 4 and 5 for every part of the Word document you want to segment.
Step 7: Navigate your cursor back to the Ribbon and click the dialog box launcher button in the corner.

Step 8: On the Page Setup dialog box, click on Margins.
Step 9: Go to Orientation and choose either Portrait or Landscape.
Step 10: Go to Preview and click the drop-down menu beside the Apply to label.
Step 11: Click This Section from the drop-down menu.

Step 12: Click on OK and this should change the orientation for just the page of the text highlighted.

Adding Page Numbers to Microsoft Word
To easily keep track of the pages within your Word document with different orientations, it might help to include page numbers. This way you can easily navigate to the page if you want to change the orientation.
Last updated on 26 April, 2022
The above article may contain affiliate links which help support Guiding Tech. However, it does not affect our editorial integrity. The content remains unbiased and authentic.
Read Next
 How to Change the Default Page Layout in Microsoft Word
The default page layout in Microsoft Word may not be everyone’s cup of tea.
How to Change the Default Page Layout in Microsoft Word
The default page layout in Microsoft Word may not be everyone’s cup of tea.
 Auto Rotate Digital Camera Photos and Fix Their Orientation
While taking photographs, we toggle the camera orientation between portrait and landscape to get the best scene.
Auto Rotate Digital Camera Photos and Fix Their Orientation
While taking photographs, we toggle the camera orientation between portrait and landscape to get the best scene.
 Set Default Orientation of Apps on Android With Smart Rotator
Auto rotate is a feature of Android that toggles your screen state between portrait and landscape depending upon your device orientation using the accelerometer sensor.
Set Default Orientation of Apps on Android With Smart Rotator
Auto rotate is a feature of Android that toggles your screen state between portrait and landscape depending upon your device orientation using the accelerometer sensor.
 Using Apple Watch in Reverse Crown Orientation: Pros and Cons
I’ve had my Apple Watch for a little under a week now.
Using Apple Watch in Reverse Crown Orientation: Pros and Cons
I’ve had my Apple Watch for a little under a week now.
 How to Make a Cover Page in Microsoft Word Online
One of the primary advantages of Microsoft Word Online is its accessibility.
How to Make a Cover Page in Microsoft Word Online
One of the primary advantages of Microsoft Word Online is its accessibility.
 3 Best Ways to Adjust the Page Margin in Microsoft Word
Page margins are the blank spaces you see lining your Microsoft Word document's top, bottom, left, and right sides.
3 Best Ways to Adjust the Page Margin in Microsoft Word
Page margins are the blank spaces you see lining your Microsoft Word document's top, bottom, left, and right sides.
 4 Best Ways to Access the Page Setup Dialog Box in Microsoft Word
Microsoft Word offers the Page Setup dialog box to help you modify the appearance of the document page you want to work on.
4 Best Ways to Access the Page Setup Dialog Box in Microsoft Word
Microsoft Word offers the Page Setup dialog box to help you modify the appearance of the document page you want to work on.
 How to Insert and Edit a Page Border in Microsoft Word
Page borders in Microsoft Word are one of the design elements in the word processing app.
How to Insert and Edit a Page Border in Microsoft Word
Page borders in Microsoft Word are one of the design elements in the word processing app.