Windows-based laptops from Lenovo, Dell, HP, and others, offer power boost, battery efficiency, and thinner design. While the design changes are welcome, the battery issues continue to trouble users. At times, the Windows laptop fails to charge despite being plugged into a charger. If you face the same, let’s troubleshoot the issue.

The issue is more apparent with the Dell XPS lineup. The device stays connected to the power sources but won’t charge the battery cell. We faced the same issue on HP Spectre x360 as well.
No matter which Windows laptop you have, you can follow the troubleshooting steps below and fix Windows 10 laptop not charging issue.
1. Check Power Source
This is pretty basic, and you must have checked it since your laptop isn’t charging. But it’s still worth pointing out to check it off from the list. Inspect the wall socket to check if it’s supplying enough power and working properly or not.

Also, check the power switch to which you have connected the charger. If that doesn’t work, try another wall power outlet.
2. Check Power Adapter
There are two factors to check with the power adapter. Try to use the same power adapter with other devices, if possible. If it’s working, then the issue might be with the laptop.
If the power adapter doesn’t work with another device either, then you need take the power adapter to the nearest service center. Or, you’ll need to buy a new power adapter.

If you are already using a third-party power adapter, check the maximum output on it. For example, your Windows 10 laptop supports a 65w charger, and the connected power adapter has a 45w max output. In that case, your laptop won’t detect and charge.
3. Check the Cable
This one happened with us. We used the default HP Spectre x360 charger with the laptop, and it didn’t work. So we used another Type-C to Type-C cable, and it started charging the laptop normally.

You can opt for a third-party cable from Amazon or a local store and try your luck with charging on Windows 10 laptop.
4. Check Charging Port on Your Laptop
If the laptop charging port is damaged, it will have a hard time charging your laptop. If your laptop has more than one charging port, you can try another port.
If that works, you should take your laptop an authorized service centre to get the issue diagnosed and fixed.
5. Uninstall Battery Drivers
Some users successfully fixed the laptop charging not working by using this method. Follow the step-by-step instructions below.
Step 1: Press the Windows key and type Device Manager.
Step 2: Open the Device Manager menu and find Batteries under it.

Step 3: Expand the Batteries menu and right-click on Microsoft ACPI-Compliant Control Method Battery.
Step 4: Select Uninstall device.

The required drivers will get reinstalled automatically when you restart your laptop.
Reboot your laptop. If the laptop has a removable battery, then remove it and keep it apart for few minutes. Then, attach the battery again, and turn on the laptop. Try plugging in the charger and it should fill up the battery again.
6. Run Power Troubleshooter
Windows offers a handy troubleshooter tool that helps you fix power-related issues on the laptop. Here’s how to use it.
Step 1: Open the Settings app on your laptop.
Step 2: Go to Update & security > Troubleshoot.

Step 3: Scroll down and click on Power.

Step 4: Click on Run the troubleshooter.
Follow the on-screen instructions and complete the troubleshooter on your computer.
Reboot the device and start charging your laptop to see if it has fixed the issue or not.
7. Check Battery Health
This one mostly applies to old laptops. Every laptop battery comes with a fixed amount of charge cycles. After all, they are made of Lithium-ion materials that wear over time.
Most laptop OEMs such as Dell, HP, ASUS, Lenovo, etc. pack a device diagnosis software to let you see inspect the laptop hardware properly.
On HP, it’s called HP Support Assistant. You can hit the Windows key and try searching for the app by typing the OEM name. So the process of checking the battery health is quite similar on other laptops.
Step 1: Open the default device diagnose app on your laptop. For instance, we had an HP laptop checked using HP Support Assistant app.
Step 2: Select Battery.

Step 3: Click on Run battery check. Keep the charger connected so that HP can check it as well.
Step 4: From the Results menu, click on Show advanced information.

Step 5: Check cycle count. Most modern laptop’s cycle count is set at 1000. If the charge cycle exceeds that, you need to change your laptop battery soon.

You can also check other information from the same menu, such as battery temperature, battery age, remaining full charge capacity, and more.
8. Run Windows Security Scan
Are you experiencing a sudden battery drain following a random third-party app installation from the web? In that case, even if the supplied charger is charging your laptop, it won’t be able to exceed the battery drain on your laptop.
You can use the Windows Security tool and remove harmful software and files from your laptop. Here’s how to use it.
Step 1: Click on the Windows button and search for Windows Security.
Step 2: Open Windows Security and go to Virus & threat protection.

Step 3: Run a Quick scan and let Windows find and remove any malicious files from the storage.
It will take a while to run a quick scan on your laptop. The remaining time will be calculated based on the number of files stored on the Windows machine.
You can minimize the app and continue with your work as usual. After completing the quick scan, save your work and reboot the computer. Then, try charging your Windows laptop again.
9. Remove External Devices from Windows Laptop
If your Windows laptop is connected to many smartphones or camera devices, you need to disconnect them from the laptop.
While charging your laptop with a charger, it will pass that to the connected external devices and try to charge them. In that case, even if your charger and laptop are completely fine, you won’t see any improvements in battery charge numbers.
Remove the connected external devices and then try to charge the laptop again.
Fix Charging Issues on Windows Laptop
Windows laptop not charging can affect your workflow, especially when you try to get some work done or in the middle of a Microsoft Teams meeting. The tricks above should fix the issue for you. Which method worked for you? Share your findings for our readers in the comments section below.
Last updated on 07 February, 2022
The above article may contain affiliate links which help support Guiding Tech. However, it does not affect our editorial integrity. The content remains unbiased and authentic.
Read Next
 7 Best Laptop Sleeves and Cases for Microsoft Surface Laptop 3 and Surface Laptop 4
Microsoft's Surface Laptop 3 and Surface Laptop 4 are lightweight and portable.
7 Best Laptop Sleeves and Cases for Microsoft Surface Laptop 3 and Surface Laptop 4
Microsoft's Surface Laptop 3 and Surface Laptop 4 are lightweight and portable.
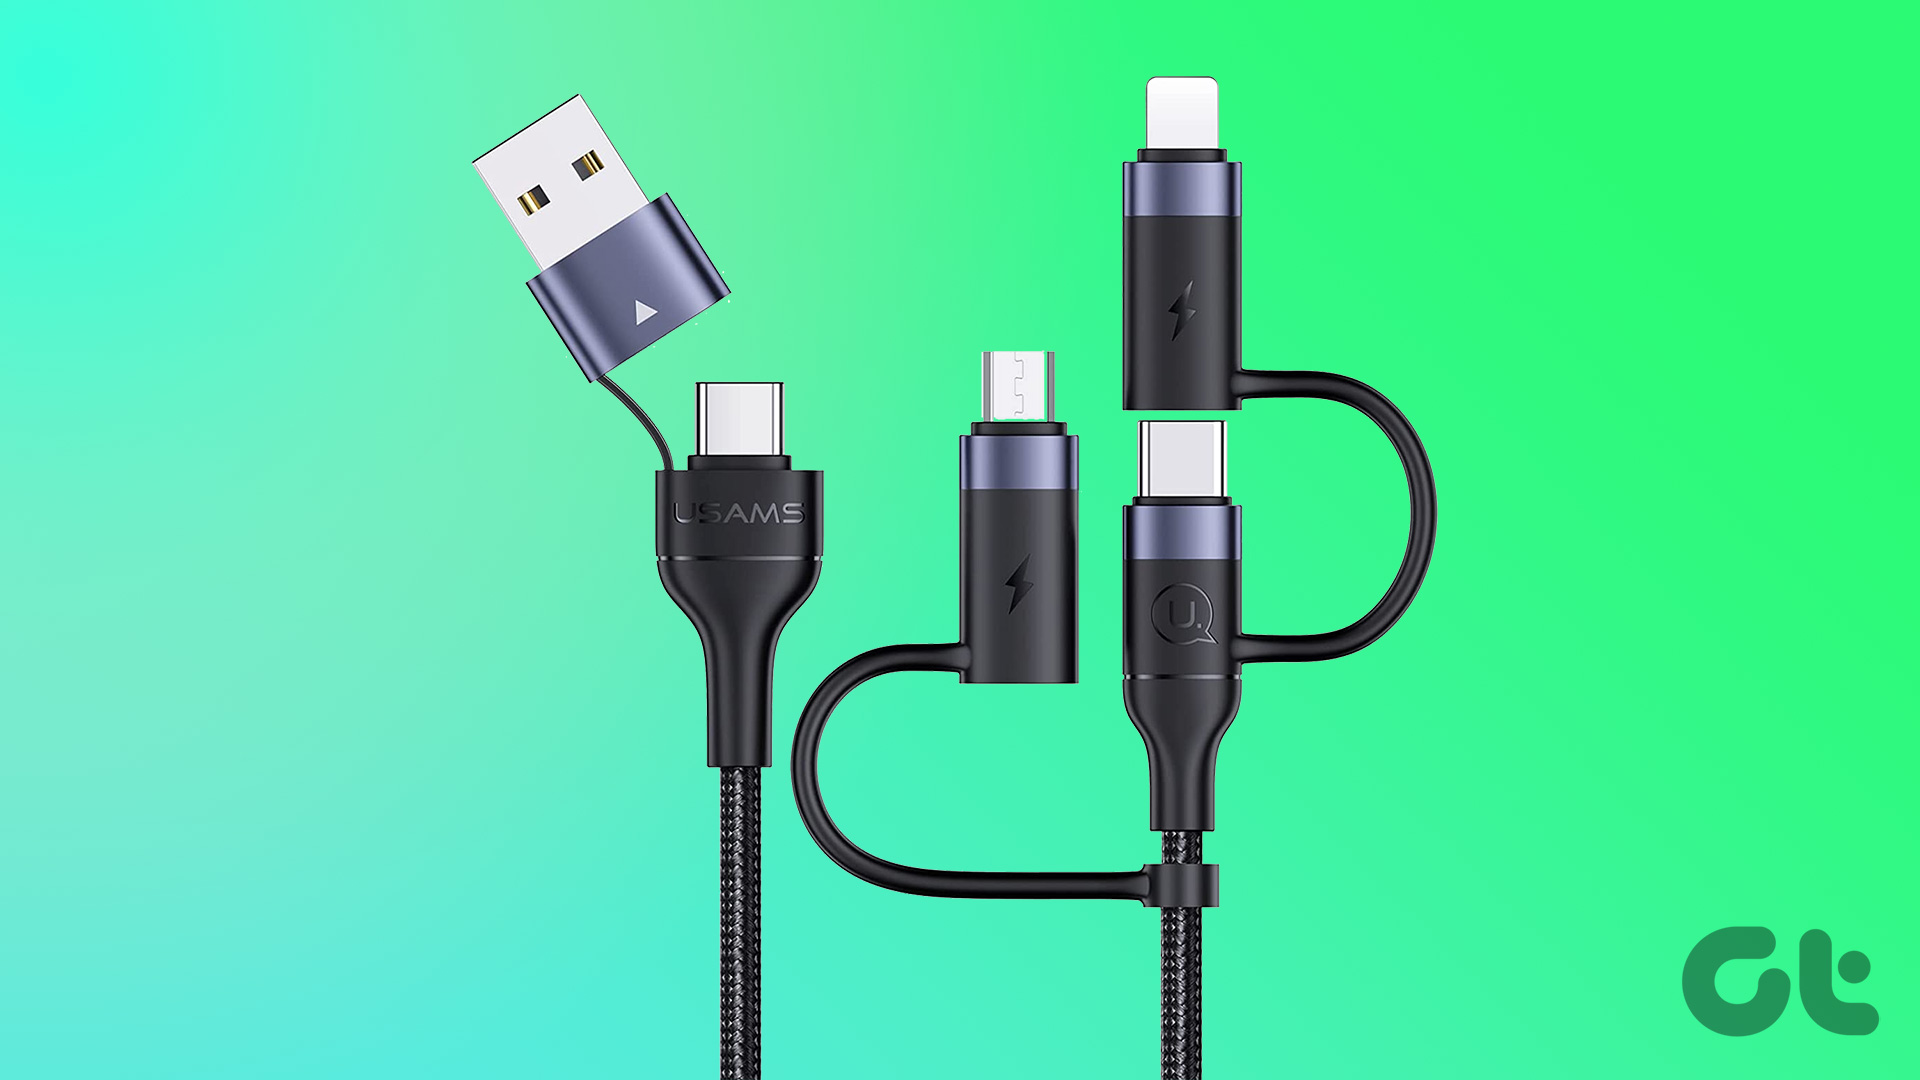 7 Best Multi-Charging Cables for Charging Multiple Devices
Most of us nowadays have multiple devices to charge.
7 Best Multi-Charging Cables for Charging Multiple Devices
Most of us nowadays have multiple devices to charge.
 6 Best Laptop Bags With Charging Port
Phone batteries used to be more robust back in the day.
6 Best Laptop Bags With Charging Port
Phone batteries used to be more robust back in the day.
 10 Best Ways to Fix Windows 10 Laptop Not Connecting to Mobile Hotspot on Android
Most Android devices have a built-in Wi-Fi data-sharing feature.
10 Best Ways to Fix Windows 10 Laptop Not Connecting to Mobile Hotspot on Android
Most Android devices have a built-in Wi-Fi data-sharing feature.
 Top 7 Ways to Fix Windows Laptop Draining Battery When Closing the Lid
Not everyone is keen on shutting down the laptop after getting some work done.
Top 7 Ways to Fix Windows Laptop Draining Battery When Closing the Lid
Not everyone is keen on shutting down the laptop after getting some work done.
 Top 6 Ways to Fix No Battery Is Detected on Windows 11 Laptop
Your laptop’s battery is an important piece of hardware that allows you to work from anywhere.
Top 6 Ways to Fix No Battery Is Detected on Windows 11 Laptop
Your laptop’s battery is an important piece of hardware that allows you to work from anywhere.
 Top 6 Ways to Fix Windows 11 Laptop Showing Wrong Battery Percentage
The battery percentage reading on your Windows 11 laptop can be helpful to you plan your work and avoid unexpected shutdowns.
Top 6 Ways to Fix Windows 11 Laptop Showing Wrong Battery Percentage
The battery percentage reading on your Windows 11 laptop can be helpful to you plan your work and avoid unexpected shutdowns.
 Top 11 Ways to Fix Overheating on a Windows Laptop
You are up for a below-average experience when your Windows laptop reaches an abnormal high You notice app crashes, glitchy gaming, and a major slowdown in basic tasks.
Top 11 Ways to Fix Overheating on a Windows Laptop
You are up for a below-average experience when your Windows laptop reaches an abnormal high You notice app crashes, glitchy gaming, and a major slowdown in basic tasks.