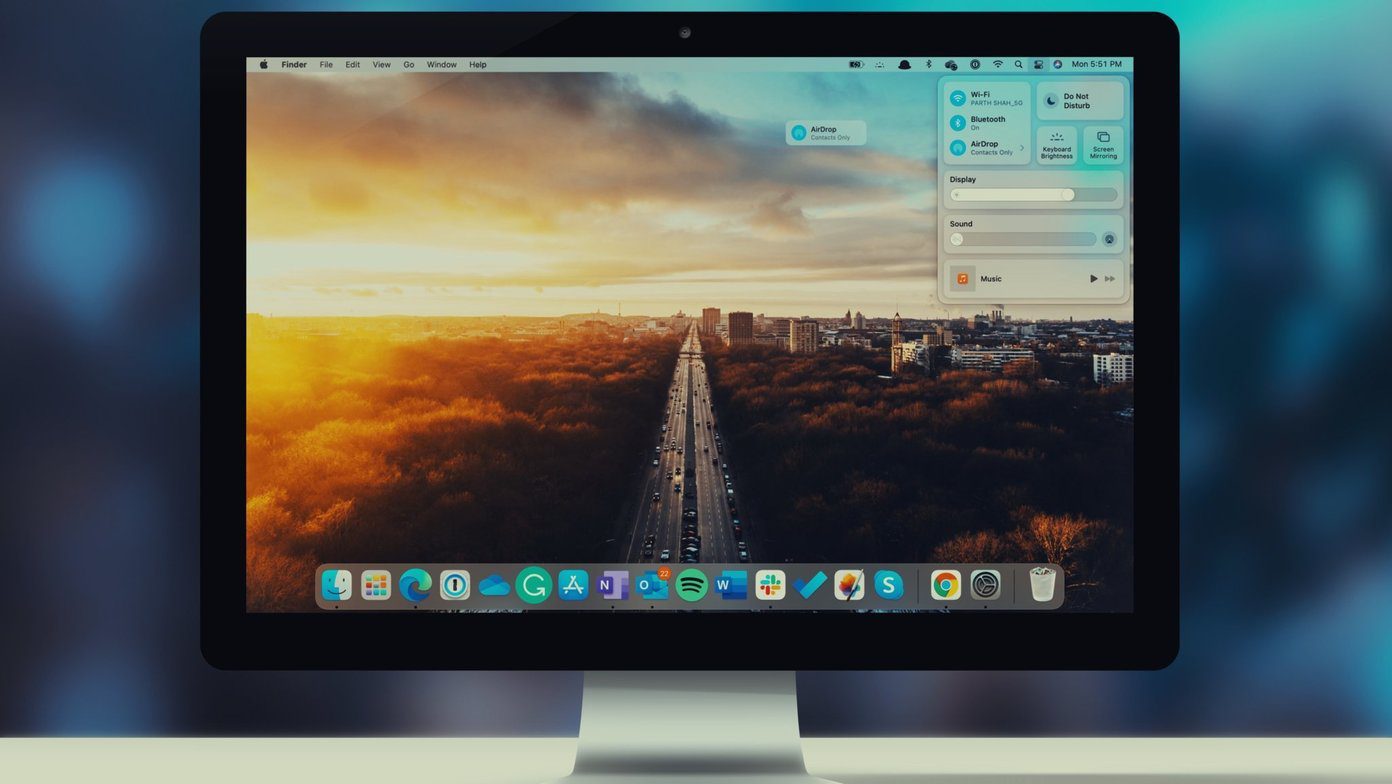
The Control Center is an incredibly useful feature on the iPhone. It’s just a single swipe away—no matter where you are—and lets you manage aspects such as network connectivity, music playback, display settings, etc., easily. And starting with macOS Big Sur, Apple has also introduced it on none other than the Mac itself.

After upgrading your Mac to Big Sur, you’d have noticed the Control Center icon (which looks like two sliders stacked over one another) to the right corner on the menu bar. You can select it to launch the Control Center at any time.
It’s also quite similar to what you get on the iPhone, with options related to features such as Wi-Fi, Bluetooth, AirDrop listed to the top, complete with sliders to adjust the screen brightness and volume.
Since the Control Center is an area that you’ll be frequently using a lot, here are several ways to go about configuring it.
1. Reveal Additional Options
Every item within the Control Center comes with an additional layer of options. For example, the Wi-Fi control isn’t there just to enable or disable the internet. Click outside the immediate area of a listed item, and it will expand to reveal additional settings and options.

In the case of Wi-Fi, you will see a list of other Wi-Fi networks that you can connect to easily. On the other hand, the Display control reveals nifty shortcuts to activate or deactivate Dark Mode and Night Shift—just like on the iPhone and iPad.

2. You Can Go Back
After expanding an item within the Control Center, there’s no visual indicator to go back. You can still click any vacant area to the top to switch to the normal Control Center view. Alternatively, you can click the Control Center icon itself to do that.
3. Drag Controls to Menu Bar
Hate having to use the Control Center all the time? Why not add the controls that you use the most to Mac’s menu bar? Start by clicking and holding a control. Then, drag and drop it to the menu bar. That option will stick to the menu bar.

Select the control within the menu bar, and you’ll automatically see all options related to it—this includes what you get when you expand it within the Control Center itself.

Note: Dragging an item out to the menu bar does not remove it from the Control Center.
If you want to remove a control from the menu bar at a later time, simply drag it out onto the desktop while holding down the Command key.
4. Add More Items to Control Center
Unlike its counterpart on the iPhone and the iPad, the Control Center’s customization capabilities on the Mac is quite limited, at least at the time of writing. However, you can still add a few additional controls to the menu bar.
Open the Apple menu and select System Preferences. Follow by selecting the Dock & Menu Bar icon. Then, scroll down the side-tab to the Other Modules section. You can select the Battery, Accessibility, and Fast User Switching options and check the box next to Show in Control Center box. They will show up to the bottom of the Control Center.

If you want to remove them at a later time, simply go back to the Dock & Menu Bar screen and deselect the Show in Control Center boxes.
5. Show in Menu Bar Only When Active
You can make certain controls show up within the menu bar, but only when they are active. That is ideal for items such as Do Not Disturb, which won’t show up and clutter the menu bar unless it’s active.
Head over to System Preferences > Dock & Menu Bar, and select a control. If you haven’t already dragged it out to the menu bar, start by checking the box next to Show in Menu Bar. Follow by selecting the option labeled When Active.

6. Use a Different Accent Color
You can switch away from the default blue-colored icons within the Control Center and spice things up by changing the Mac’s accent color. Open System Preferences, select General, and pick a color from the Accent Color section.

Of course, that will also end up changing the color of buttons, menu items, and so on everywhere within the Mac.
Stay in Control
The Control Center in macOS Big Sur is not as polished as the one that you get on the iPhone and the iPad, But, it’s quite new so you must expect a few rough edges. Shortcut support, more controls, and the ability to move stuff around would make it more exciting to use. Hopefully, Apple will keep improving it in future updates. By the way, did you check out the new widgets in macOS Big Sur?
Last updated on 24 January, 2023
The above article may contain affiliate links which help support Guiding Tech. However, it does not affect our editorial integrity. The content remains unbiased and authentic.


