Windows supports multiple file types and applications. It is very easy to install, uninstall, and change a file or program. But some users face the ‘file is open in another program’ error when they try to open or remove a file.
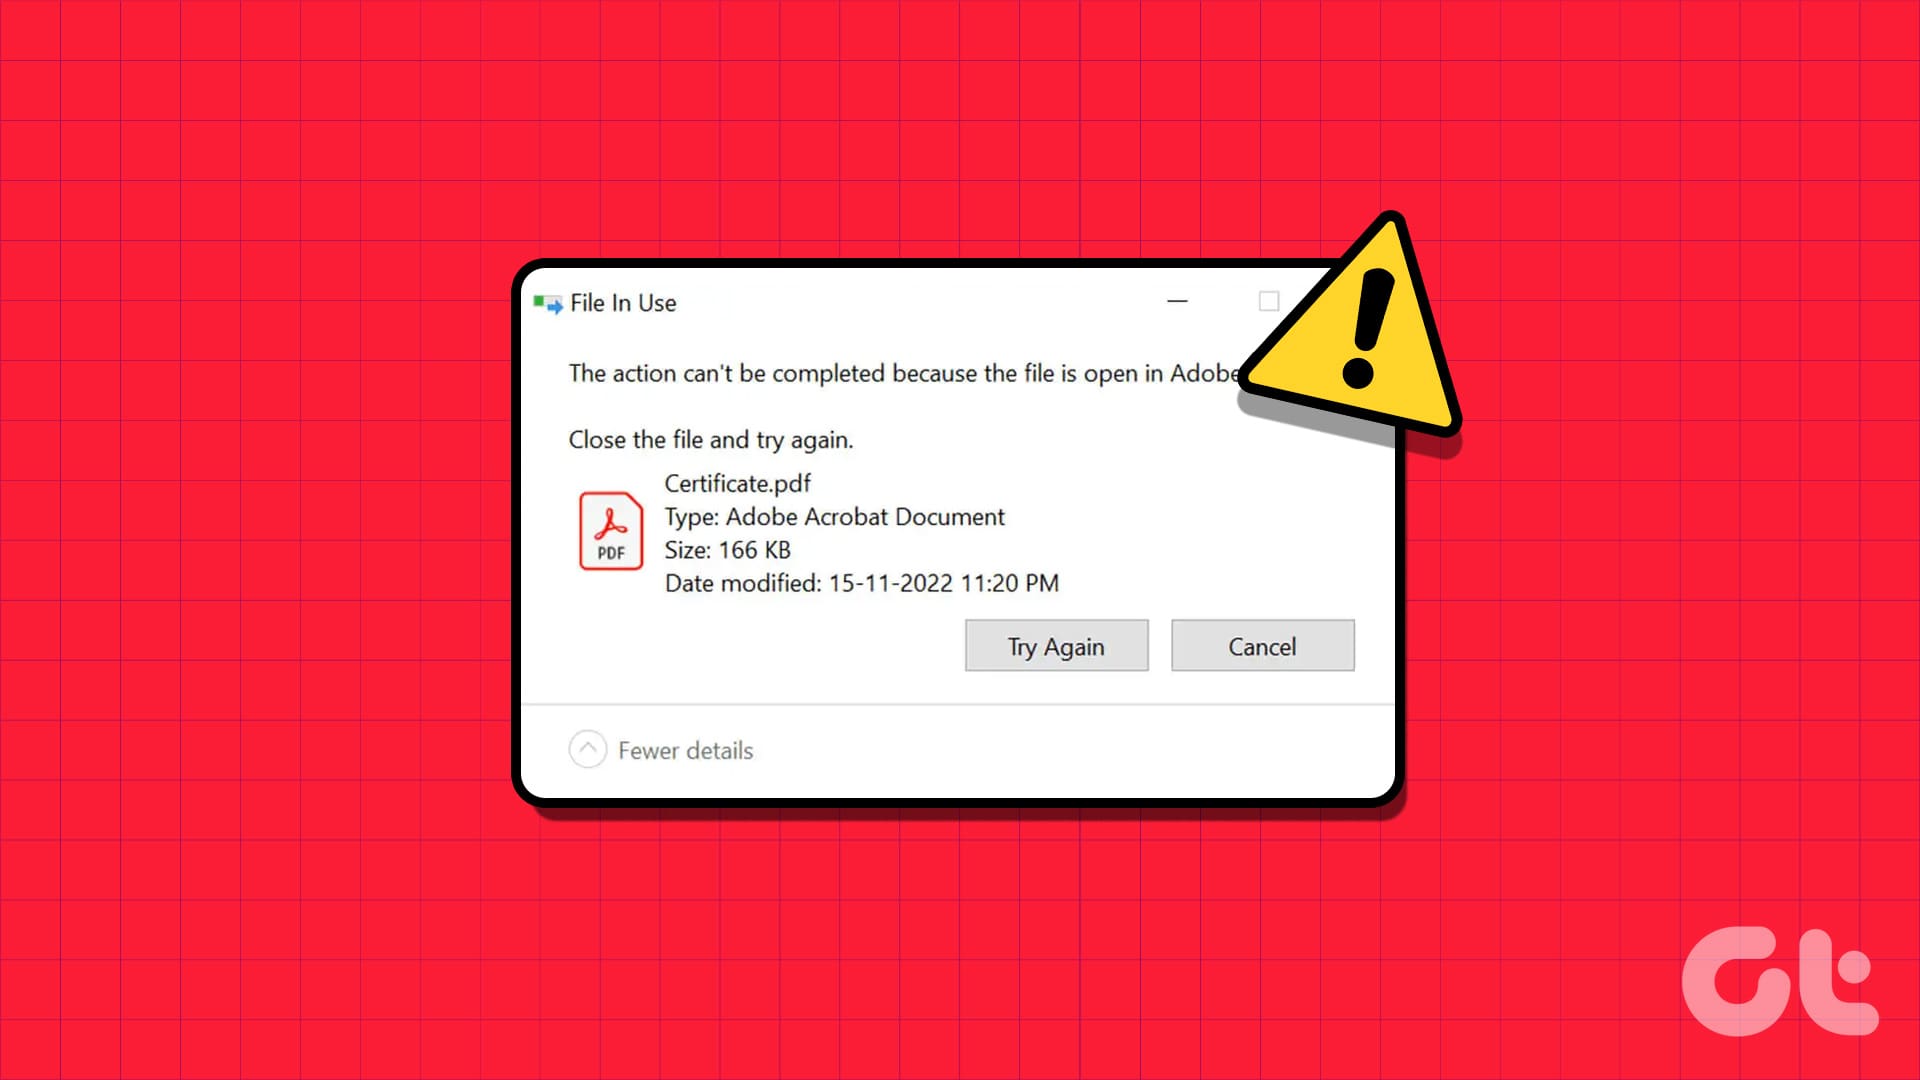
The primary reasons behind this issue include temporary file cache build up, meddlesome File Explorer settings, and a glitched Windows Explorer service.
Of course, it’s difficult to narrow down to a particular reason. We’ve compiled a bunch of methods to help you fix the ‘File is open in another program’ error on your Windows 10 or Windows 11 computer.
1. Use Task Manager to Close the App
The primary reason for the ‘another program is currently using this file’ error is that another program on your PC is accessing the file. So, you must close the program using the Task Manager. Here’s how to do it:
Step 1: Press the Ctrl + Shift + Esc keyboard shortcut to open Task Manager.
Step 2: Find the program which could be using the file in the Processes list. For example, if it is a document file like Microsoft Word or some other text editor program will be using it.
Step 3: Right-click on the process and select the End Task option from the context menu.
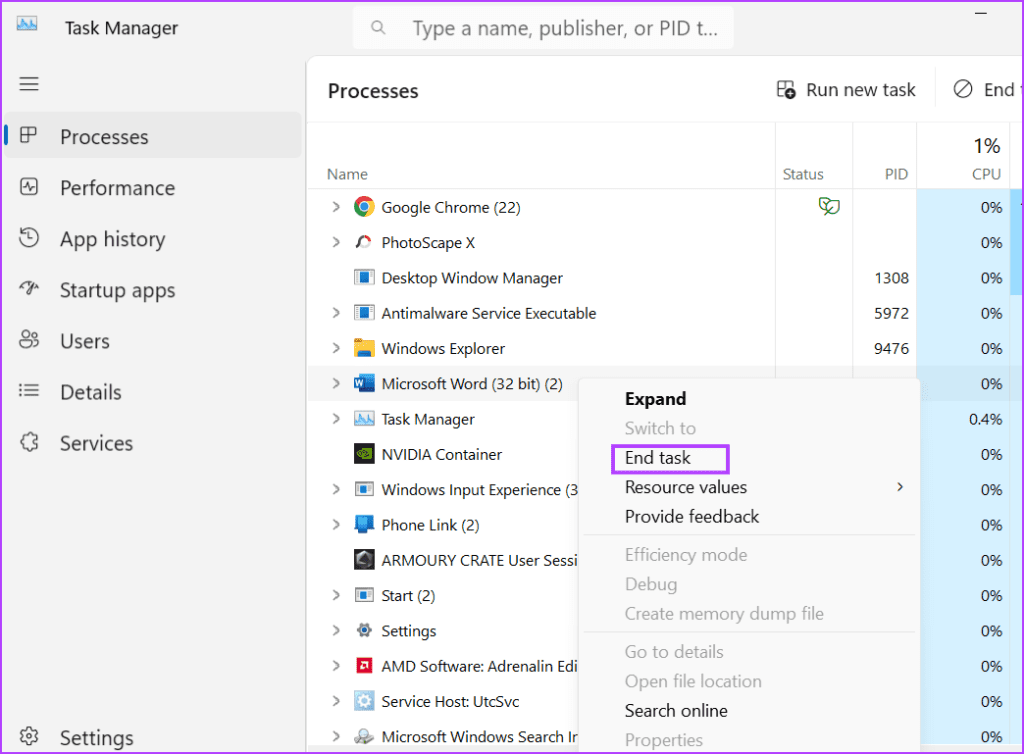
Step 4: Close the Task Manager window.
2. Restart Windows Explorer
Windows Explorer process manages the programs and offers GUI support for many operating system elements. But if this process glitches and stops working properly, you can encounter the ‘this action cannot be completed because the file is open in another program’ error. So, you must restart this process using Task Manager. Here’s how:
Step 1: Press the Ctrl + Shift + Esc keyboard shortcut to open Task Manager.
Step 2: Click on the search bar at the top. Type explorer and press Enter.

Step 3: Right-click on the Windows Explorer process and click on the Restart option.

Your screen will flicker for a few seconds and then return to normal. Any open apps will not be closed.
3. Change File Explorer Properties
A File Explorer property is also known to cause the ‘file is open in another program’ error on Windows. So, you must disable this property using the Folder Options in File Explorer. Here’s how to do it:
Step 1: Press the Windows + E keyboard shortcut to open File Explorer.
Step 2: Go to the top menu bar and click on the three horizontal dots button to open the drop-down menu. Click on Options.

Step 3: Switch to the View tab. Locate the ‘Launch folder windows in a separate process’ option. Click on the checkbox to unselect it.

Step 5: Click on the Apply button and then click on the OK button.

4. Disable File Explorer Preview
File Explorer Preview pane can help you check the contents of a file without leaving the File Explorer window. But if the file is already open in the preview pane, and you try to make changes to it, you can face the error. So, you must disable the File Explorer preview. Here’s how:
Step 1: Press the Windows + E keyboard shortcut to open File Explorer.
Step 2: Navigate to the top menu bar and click on the View button.

Step 3: A drop-down list will open. Hover on the Show option and then click on the Preview Pane option to unselect it.

Step 4: Close the File Explorer window.
5. Tweak a System Policy Using Group Policy Editor
Thumbnail Caching on Windows can also be a reason behind this infuriating problem. So, you must disable it using the Group Policy Editor. Here’s how to do it:
Step 1: Press the Windows key to open the Start menu. Type gpedit.msc in the search bar and press Enter to open the Group Policy Editor.

Step 2: Navigate to the left-hand side menu. Click on the Administrative Templates option listed under the User Configuration section.

Step 3: Double-click on the Windows Components option.

Step 4: Scroll down and double-click on the File Explorer option.

Step 5: Double-click on the ‘Turn off caching of thumbnails in hidden thumbs.db files’ policy to open its settings.

Step 6: Select the Enabled option.

Step 7: Click on the Apply button and then click on the OK button.

Step 8: Close the Group Policy Editor and restart your PC to apply the changes.
6. Disable Thumbnail Caching Using Registry Editor
If you have the Windows Home version, you won’t be able to disable thumbnail caching using the Group Policy Editor because it is exclusive to Windows Pro and Enterprise versions. Instead, you can modify the system registry using Command Prompt to disable thumbnail caching. But before doing that, create a registry backup. Here’s how to do it:
Step 1: Press the Windows key to open the Start menu. Type cmd in the search bar and press Ctrl + Shift + Enter keyboard shortcut.

Step 2: The User Account Control window will open. Click on the Yes button to open Command Prompt with administrator privileges.

Step 3: Now, type the following command and press Enter to create a new subkey:
reg add "HKEY_CURRENT_USER\Software\Microsoft\Windows\CurrentVersion\Policies\Explorer"Step 4: After that, type the following command and press Enter:
reg add "HKEY_CURRENT_USER\Software\Microsoft\Windows\CurrentVersion\Policies\Explorer" /v NoThumbnailCache /t REG_DWORD /d 00000001 /f
Step 5: Close the Command Prompt window. Restart your PC to apply the changes.
7. Flush System Cache
An outdated or corrupt Windows cache can cause issues with the normal functioning of programs. You can easily remove the cache using the Disk Cleanup tool in Windows. Repeat the following steps:
Step 1: Press the Windows key to open the Start menu. Type cleanmgr in the search bar and click on the Run as administrator option.

Step 2: Select all the checkboxes listed under ‘Files to delete:’ section. Click on the OK button.

Step 4: Click on the Delete Files button.

8. Use Safe Mode
The last resort is to restart your PC in Safe Mode and then try to modify the app or file. Safe Mode will run the bare minimum of Windows services and drivers. Here’s how to do it:
Step 1: Press the Windows key to open the Start Menu. Click on the Power icon.

Step 2: Press and hold the Shift key, then click on the Restart option.

Step 3: Windows Recovery Environment will launch. Click on the Troubleshoot option.

Step 4: Click on Advanced options.

Step 5: Click on the Startup Settings option.

Step 6: Click on the Restart button.

Step 7: Press the F4 key to boot the PC into safe mode.

Step 8: Log in to your PC and check if you face the same error while modifying or removing a file.

A Bothersome Windows Error Fixed
When you face the ‘file is open in another program’ error on Windows, start by identifying and closing any program that could be using the file. After that, modify File Explorer properties, disable Preview Pane and thumbnail caching, and clear the system cache. Lastly, use safe mode to modify or remove the file.
Last updated on 14 July, 2023
The above article may contain affiliate links which help support Guiding Tech. However, it does not affect our editorial integrity. The content remains unbiased and authentic.


