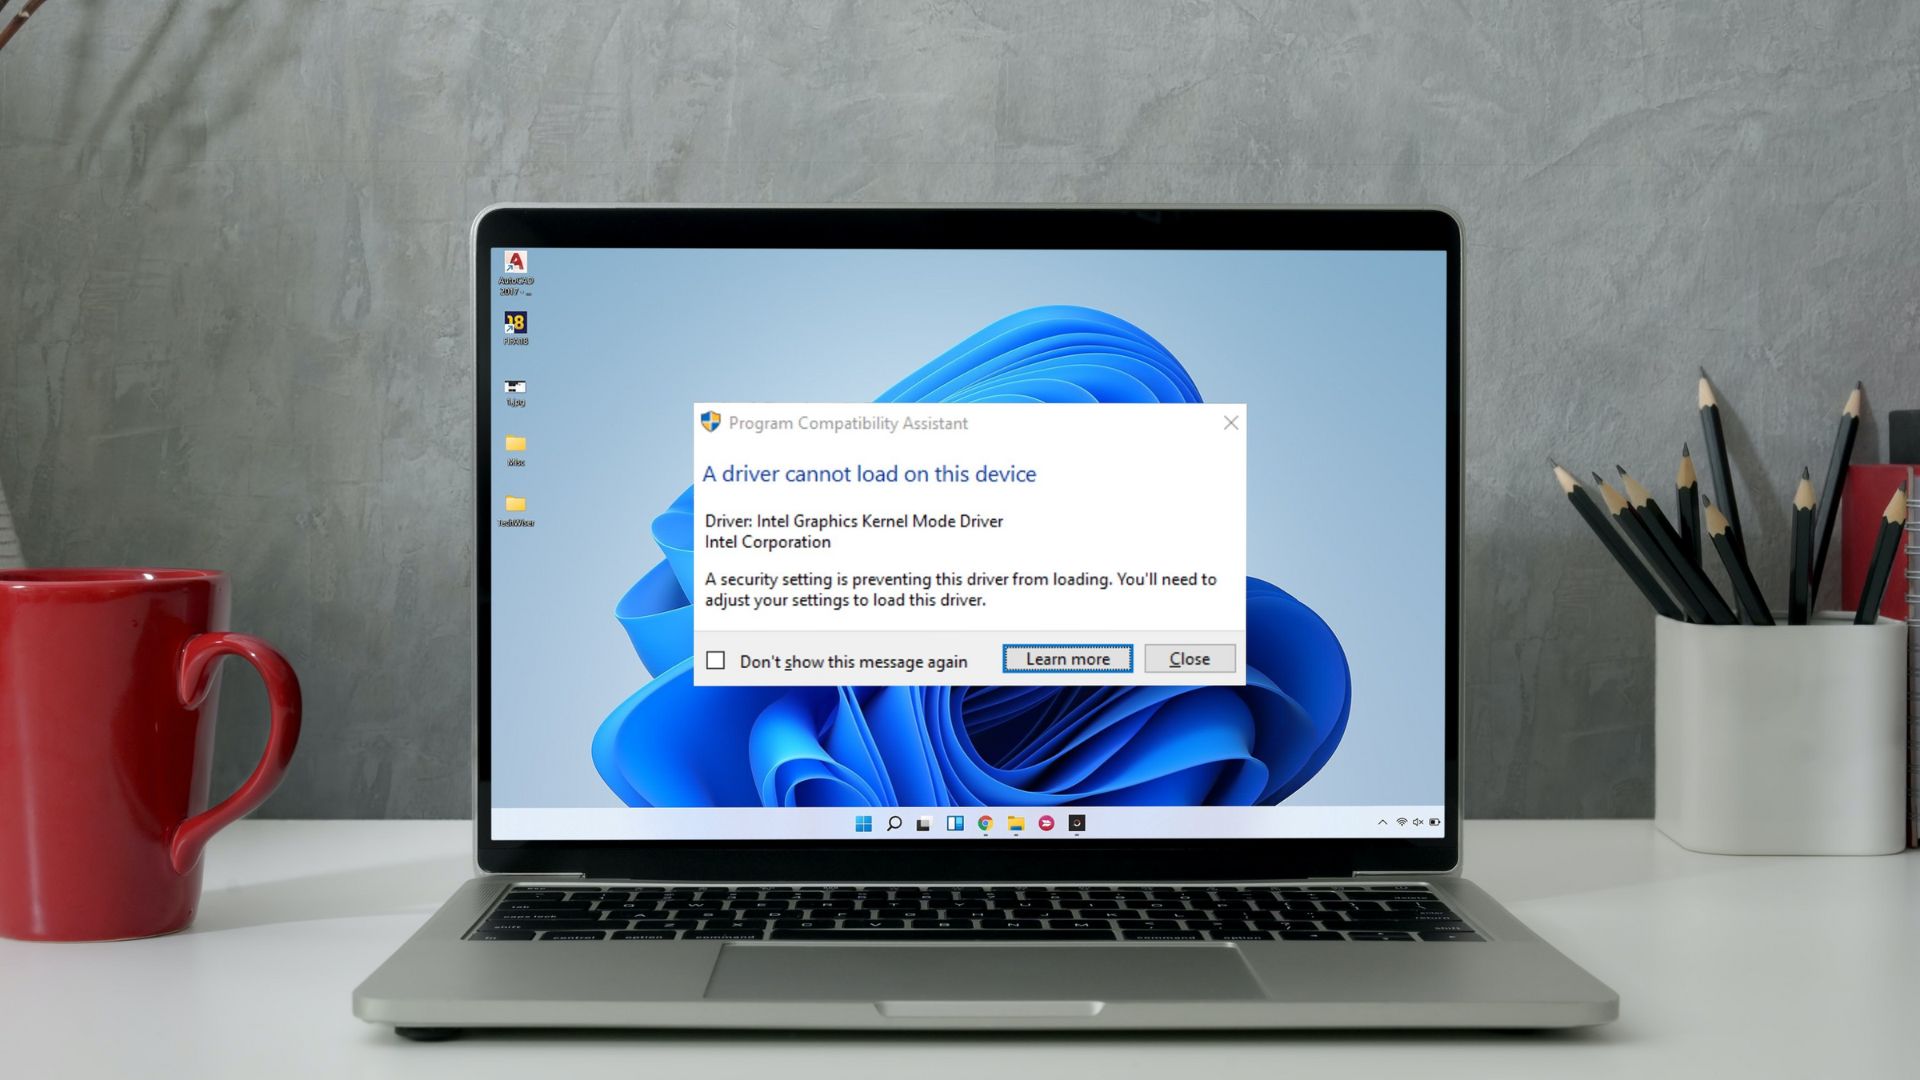
CHKDSK, the command for Check Disk, is helpful to scan and repair disk errors using the Command Prompt. With it, you can fix all kinds of problems with storage drives on your Windows 10 or 11 PC. However, what if Windows fails to run the CHKDSK command at your input and gives you errors?

This could happen due to various factors, ranging from a lack of administrative privileges to misconfigured registry files. If you can’t tell what’s causing the problem, work through the following tips to fix it.
1. Make Sure Your Account Has Admin Rights
One of the most common reasons you might be able to run a Check Disk scan and see the Access Denied message is if you have run Command Prompt without administrative privileges. To start, ensure that your user account has administrative rights, and then use the following steps to run the CHKDSK command.
Step 1: Right-click on the Start icon and select Terminal (Admin) from the list.

Step 2: Select Yes when the User Account Control (UAC) prompt appears.

Step 3: Type the following command in the console and press Enter. For this example, we will scan the E drive.
chkdsk e: /r

If you are looking to scan the D drive, replace e: with d: in the command above. Additionally, make sure that the drive you are attempting to scan is connected to your system.
2. Schedule the Check Disk Scan on System Restart
It’s important to note that CHKDSK requires exclusive access to the drive you want to scan and repair. If some of the files on the drive you want to scan are open or in use, you may receive the ‘Chkdsk cannot run because the volume is in use by another process’ error on Windows.
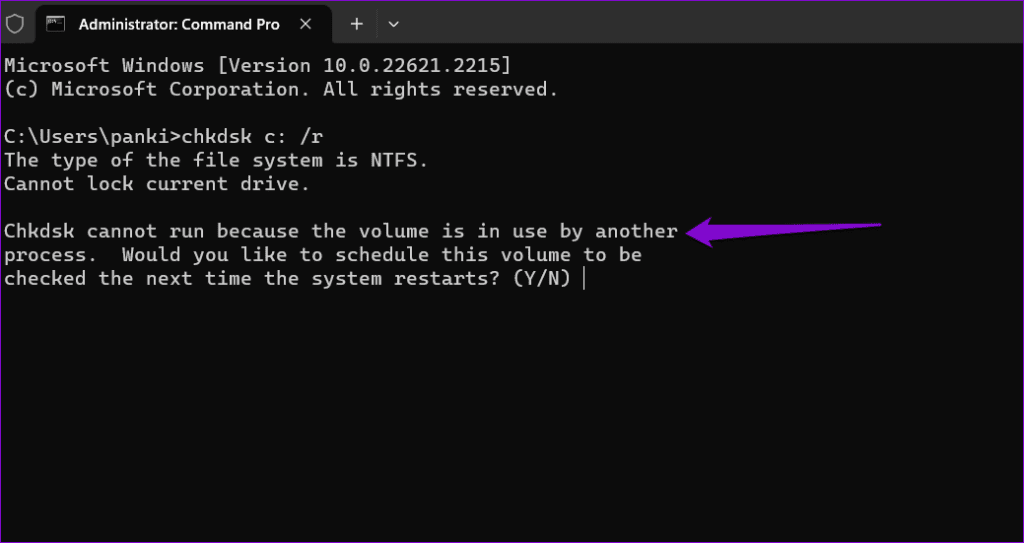
In that case, CHKDSK will give you the option to schedule the scan for the next time you restart your computer. To do this, type Y for Yes and press Enter. After that, restart your PC and Windows will scan the specified drive for errors during startup.

3. Check the BootExecute Registry
The BootExecute registry entry specifies whether the system should run the Check Disk scan at boot. If this key is not configured correctly, CHKDSK will not work. To resolve this, you must modify the BootExecute value using the Registry Editor. However, since editing registry files is somewhat risky, it’s a good idea to back up all registry files or create a restore point before proceeding.
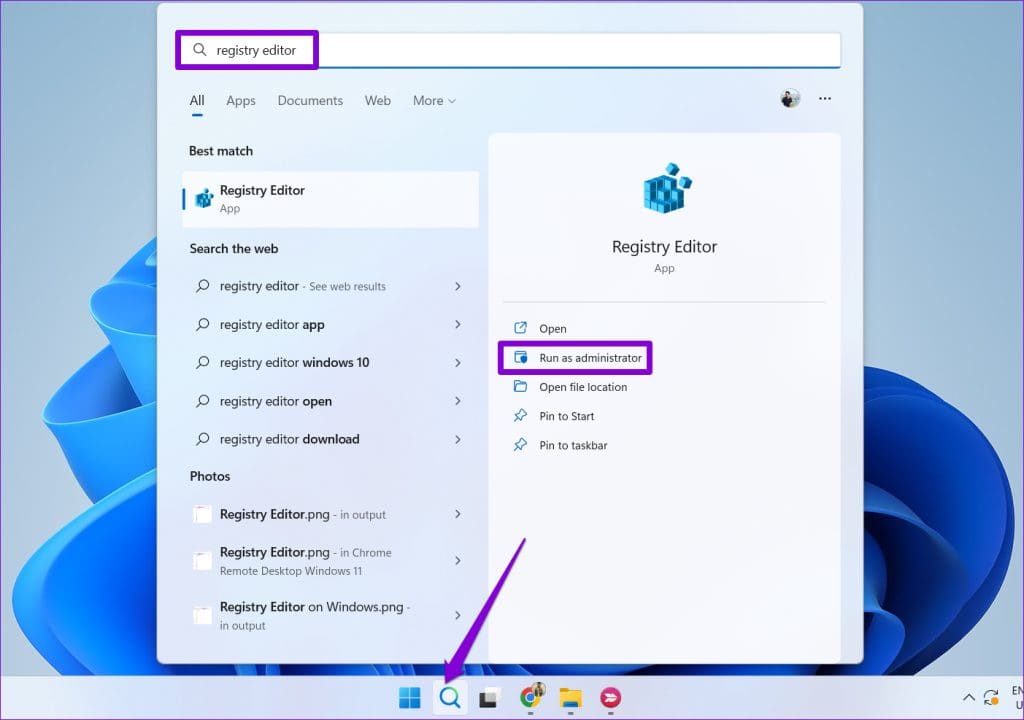
Step 1: Click the search icon on the taskbar to open the Start menu, type in registry editor, and select Run as administartor.
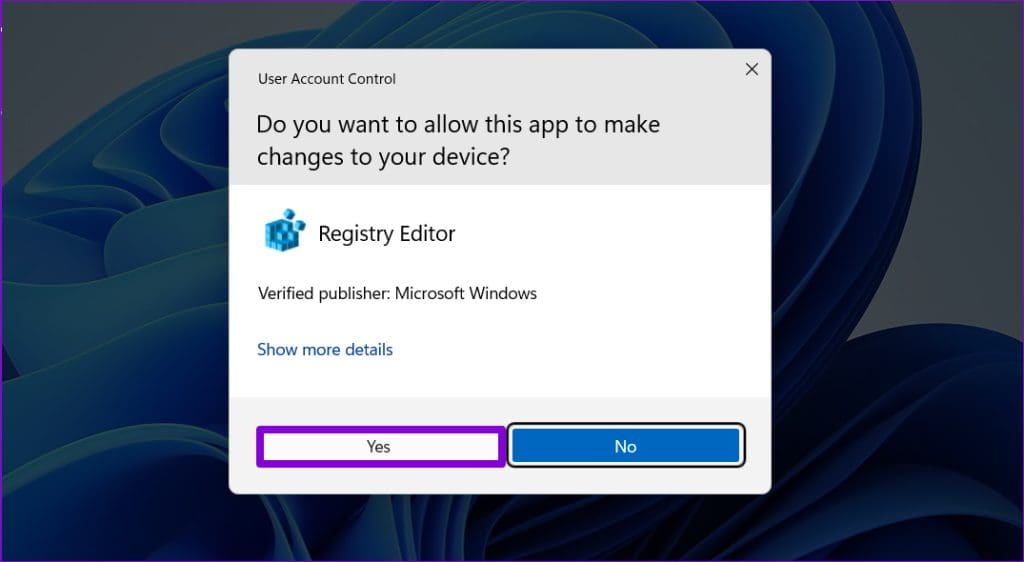
Step 2: Select Yes when the User Account Control (UAC) prompt appears.
Step 3: Paste the following path in the address bar and press Enter:
Computer\HKEY_LOCAL_MACHINE\SYSTEM\CurrentControlSet\Control\Session Manager

Step 4: In the right pane, double-click the BootExecute entry. Type autocheck autochk * in the Value data field and click OK.

Restart your PC after this to check if the issue persists.
4. Turn Off Fast Startup
At times, Windows may fail to run the Check Disk scan at boot if you have enabled Fast Startup. You can try disabling this feature temporarily to see if that solves the problem.
Step 1: Click the search icon on the taskbar to open the Start menu, type in cmd, and select Run as administrator.

Step 2: Select Yes when the User Account Control (UAC) prompt appears.

Step 3: In the console, run the following command and press Enter:
Powercfg -h off

Step 4: Type the following command and press Enter to run the scan:
chkdsk c: /r

Step 5: Type Y and hit Enter.

Restart your PC after this to allow Windows to scan the specified drive.
5. Run CHKDSK From Advanced Startup
Another thing you can do is run the Check Disk scan in the Advanced Startup environment. This will help you avoid any interference that may have been preventing Windows from running the scan.
Step 1: Press the Windows key + I keyboard shortcut to open the Settings app. On the System tab, click on Recovery.

Step 2: Click the Restart now button.
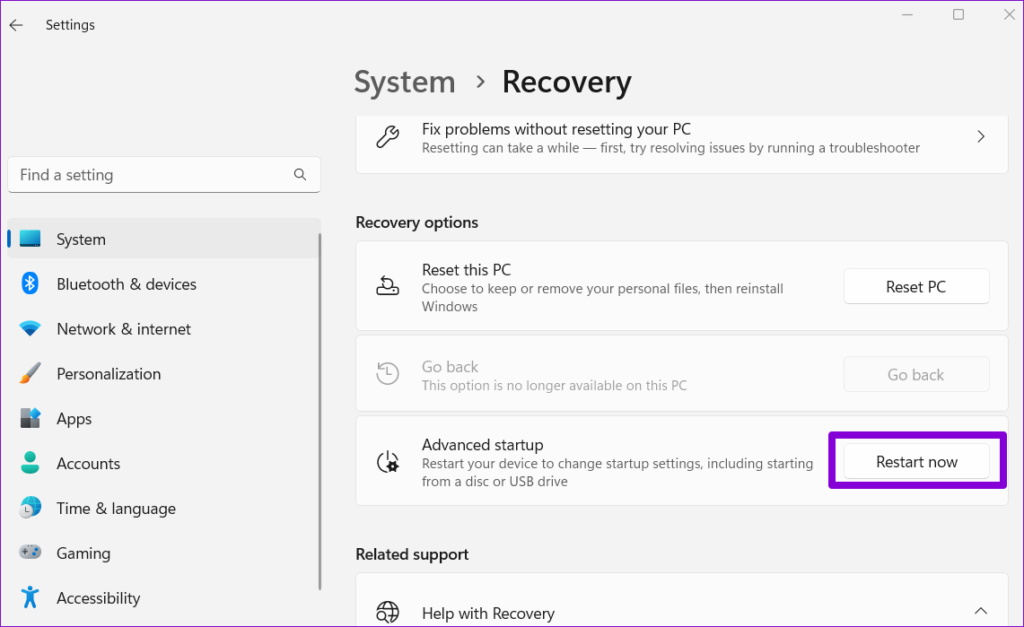
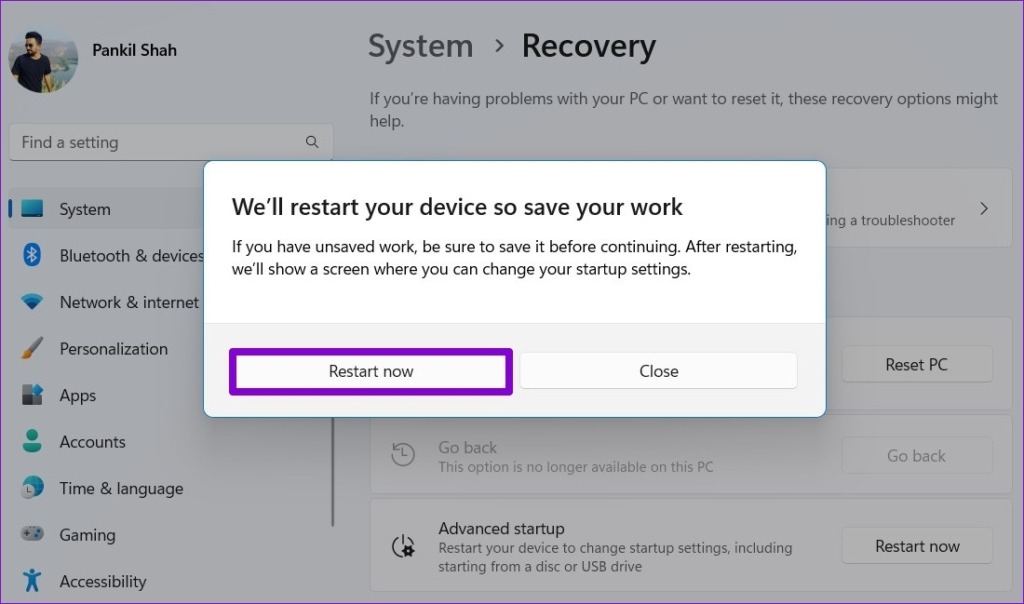
Step 3: Click the Restart now button and wait for your PC to boot into the Advanced Startup environment.
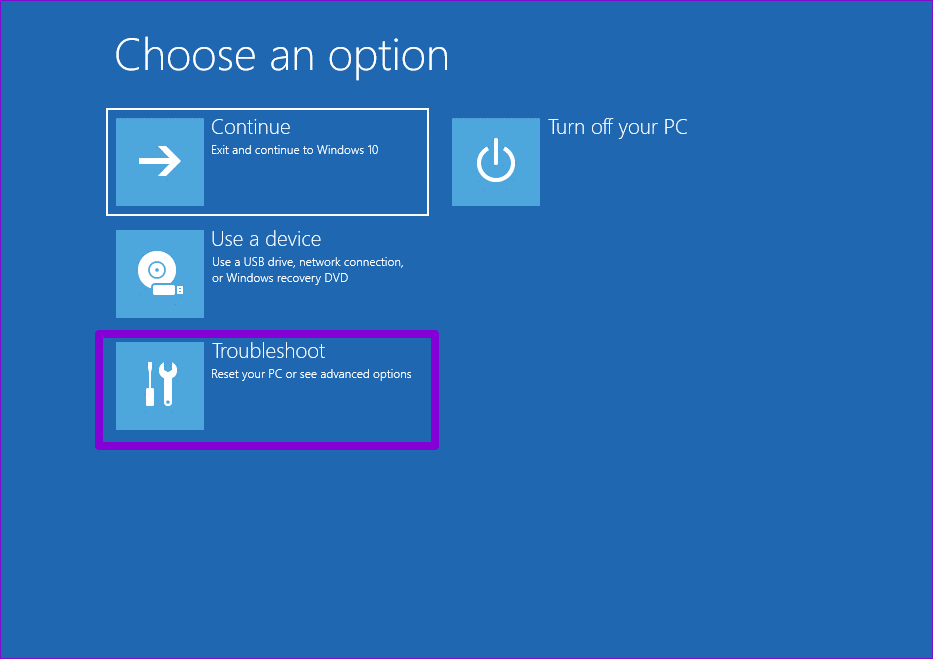
Step 4: Click on Troubleshoot.
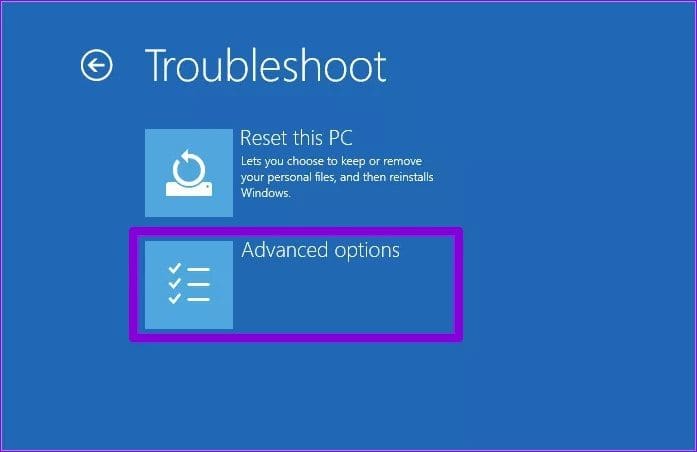
Step 5: Select Advanced options.
Step 6: Click on Command Prompt.

Step 7: After the Command Prompt window appears, type chkdsk e: /r and press Enter.

6. Remove Write Protection For Your Drive
Are you seeing the ‘Windows cannot run disk checking on this volume because it is write protected’ message while running the CHKDSK command? If so, you will need to remove write protection from your drive to resolve the issue.
Step 1: Right-click on the Start icon and select Terminal (Admin) from the resulting menu.

Step 2: Select Yes when the User Account Control (UAC) prompt appears.

Step 3: In the console, type the following command and press Enter:
diskpart
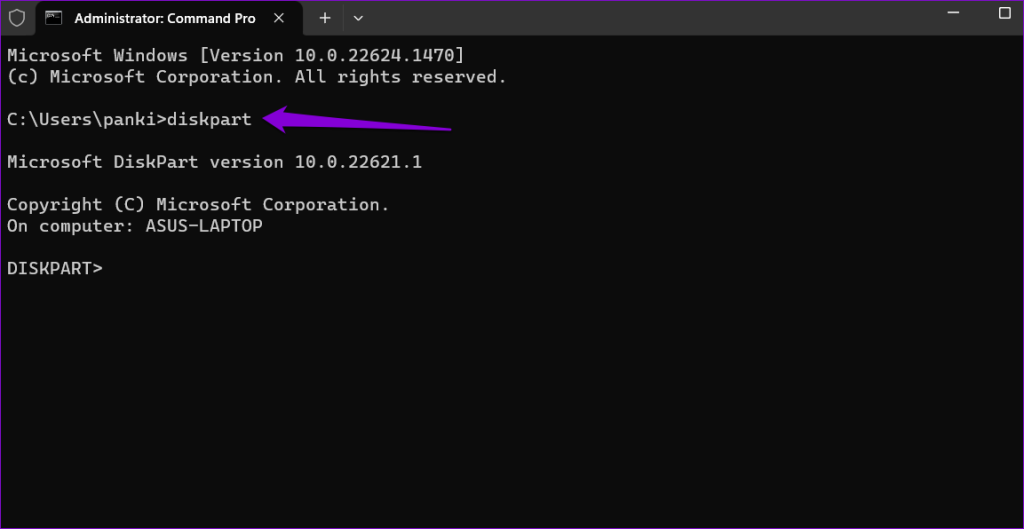
Step 4: Type the following command and press Enter to view a list of drives:
list disk

Step 5: Note the disk number associated with your drive. Then, type the following command and press Enter to select it:
Select disk N
Replace N in the above command with the actual number associated with the drive.

Step 6: Paste the following command and press Enter to remove write protection for the selected device:
attributes disk clear readonly

After completing the above steps, try to run the CHKDSK command again.
No More CHKDSK Errors
The CHKDSK command on Windows makes it possible to repair or recover drives without formatting them. Occasionally, you may encounter a hiccup or two while running it, but you can fix them easily with the tips mentioned above.
Last updated on 12 September, 2023
The above article may contain affiliate links which help support Guiding Tech. However, it does not affect our editorial integrity. The content remains unbiased and authentic.


